
Custom RV Interior Ideas Ideas We Keep Coming Back To
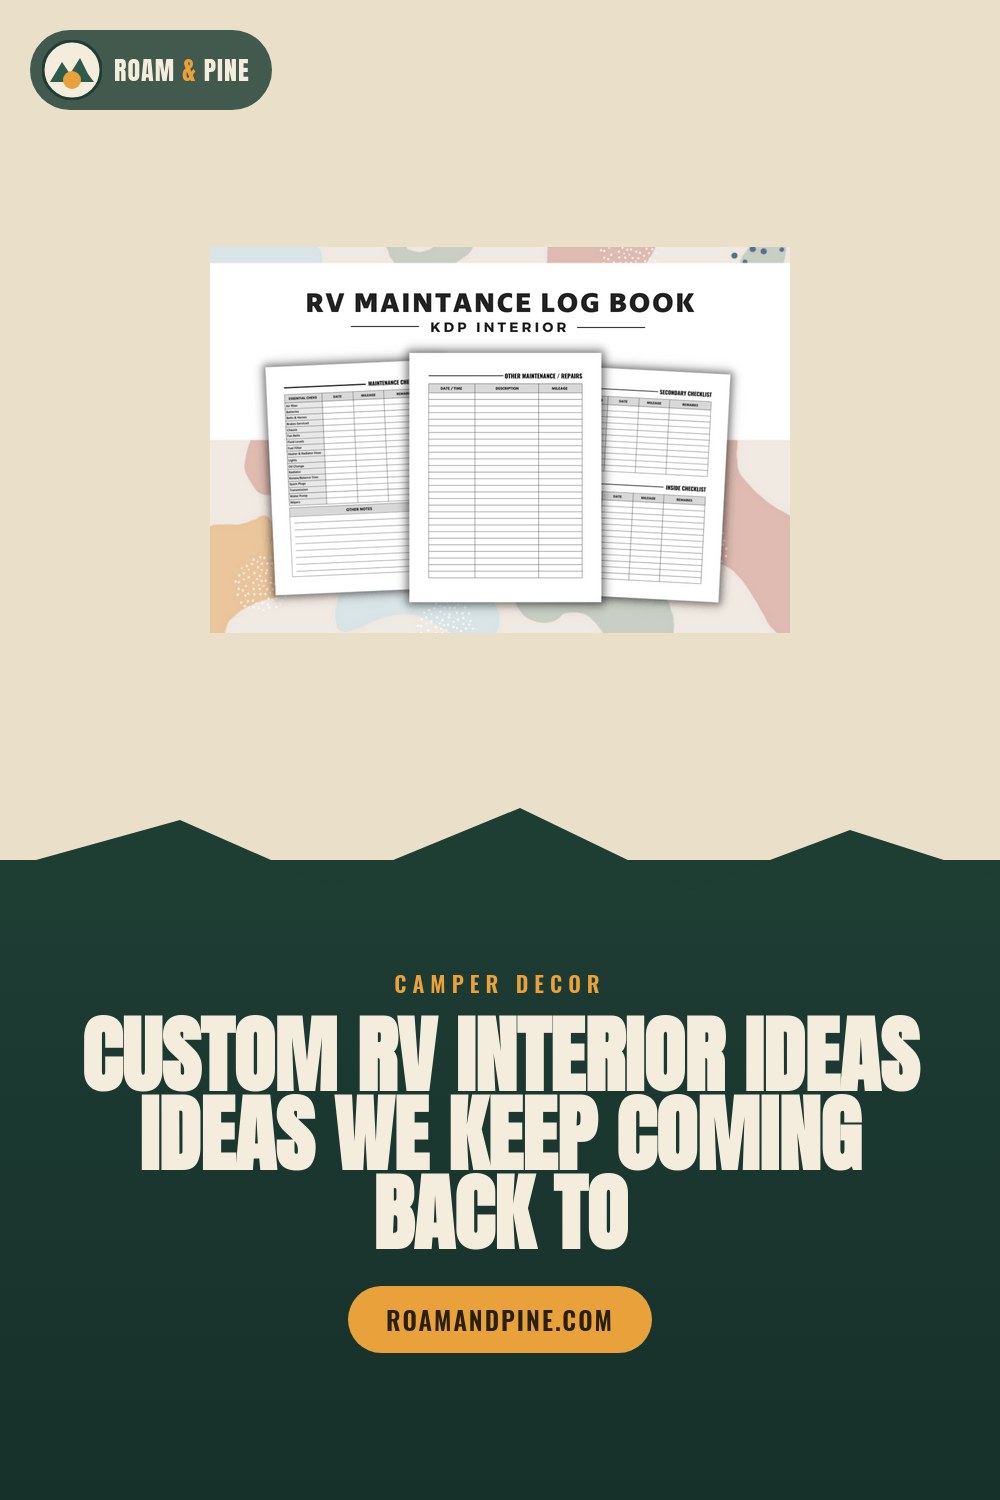
We bought a 1999 Jayco off a guy in Coeur d’Alene for less than a used dishwasher. It smelled like wet dog and old coffee. The flooring peeled up at the corners and one cushion had a spring poking through the fabric like it was trying to escape. I loved it immediately, which my partner Wes will tell you was a warning sign.
That first November I pulled out everything. Cushions, the carpet, two cabinet doors that were hanging by one screw. I had a plan in my head and absolutely nothing on paper. Big mistake. By December I had reordered the same vinyl plank twice because I could not remember the square footage, and I had primed one wall in a color I already hated.
So this is the full reno, the real stuff, floors and cushions and walls, not just a cute sign screwed over the dinette. And yes, most of the files I lean on here are logbooks and journals from an indie design shop, because the thing that actually kept my custom build from becoming a money pit was writing the boring details down. Small affiliate note, those product links are mine.
The Binder That Lived On The Toolbox
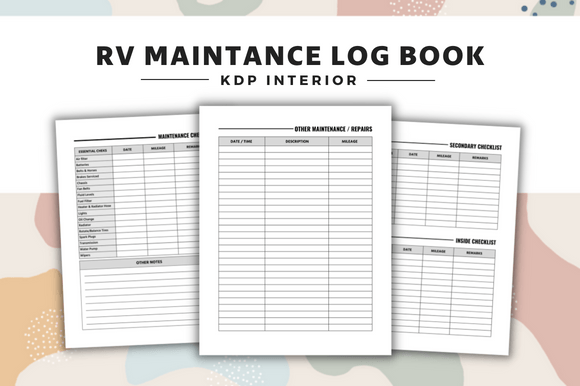
I printed this one before I unscrewed a single panel. Three-hole punched, stuck it in a cheap red binder, and it sat on the toolbox lid all winter getting fingerprints all over it.
The maintenance pages are where I tracked the stuff that is not glamorous and nobody Pins. When I resealed the roof seams in January it was 19 degrees in the garage and I wrote down the brand of self-leveling sealant so I would not stand in the store guessing next year. I also logged the day the water pump started ticking.
One nitpick. The columns run a hair narrow if you have fat handwriting like Wes does. I printed it at 105 percent on the library copier and the dates finally fit.
Where The Flooring Math Finally Lived
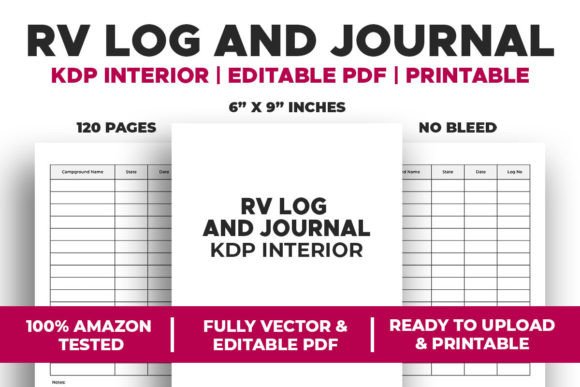
This is the journal I should have had in November instead of December. Open layout, room to scribble, which is exactly what a gut job needs.
I used it for the floor. Measured the cabin three times because the old camper is not square anywhere, wrote the real numbers down, drew a lumpy little diagram of where the wheel well eats into the plank run. The vinyl I went with was a gray oak look from the box store, about 38 dollars a box, and I needed four. Wrote that down too so the reorder was not a guessing game.
My gripe, the paper is on the thin side, so a wet thumb after caulking will wrinkle a page. I let pages dry before flipping. Lesson learned the hard way.
My Second Copy, Kept Clean For Receipts

I ran two of these at once. This one I kept clean. No garage grease. It lived inside the house on the kitchen counter and held the boring paperwork side of a custom build.
Receipts taped to the back pages. The fabric order for the cushions. The day I called the place in Spokane about foam density and the guy talked me out of the cheap stuff, which was the right call. Having the dollars in one place is the only reason I know the whole interior came in around 1,400.
The one thing. The cover is plain, almost too plain, so I slapped a pine tree decal on mine just to tell the two copies apart at a glance.
The One I Filled With Before Photos And Regret
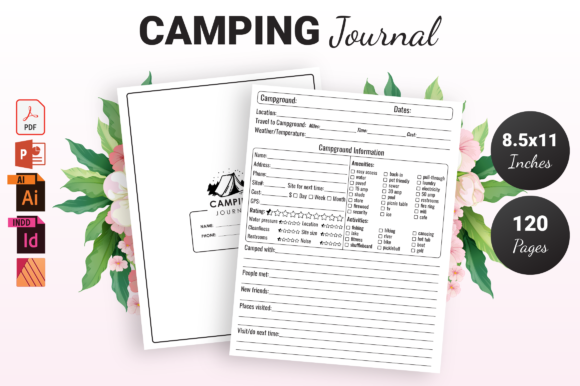
Once the floor was down and the walls were primed, I switched from the grease-binder energy to something that felt more like a build diary. This camping journal became that.
I taped in before shots. The brown duck border on the old wall. The cushion with the escaping spring. Then I wrote what I would do differently, which by February was a long list. Should have removed the dinette before painting. Should have bought the good painter’s tape, not the dollar roll that let primer bleed under it.
Small thing, the lines are a touch close together for sketching. I use the blank-ish pages for layouts and save the lined ones for plain notes.
Cushion Notes, Stitch Counts, A Lot Of Pins
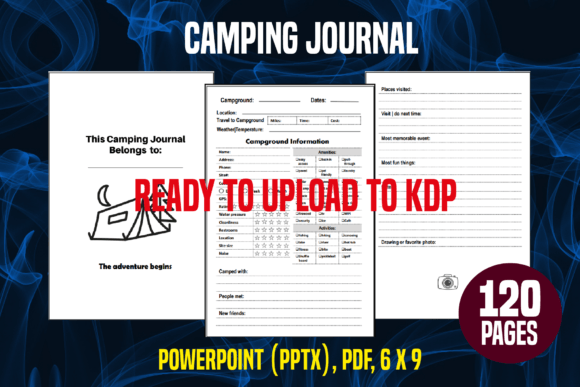
Reupholstering the dinette cushions was the job that nearly broke me, and this journal caught all the panic notes.
I cannot really sew. My neighbor Dalia can, so we split it, and I wrote down every measurement she called out so I would not have to make her repeat herself. Foam thickness. Yardage. The fact that the U-shaped corner cushion needed a template made from a grocery bag taped together. We did it over two Saturdays in March with her machine on my kitchen table.
Nitpick, this version has a busier page header that eats a little room up top. Fine for notes, slightly cramped if you want to glue a fabric swatch at the corner.
First Shakedown Trip, Documented In Pencil
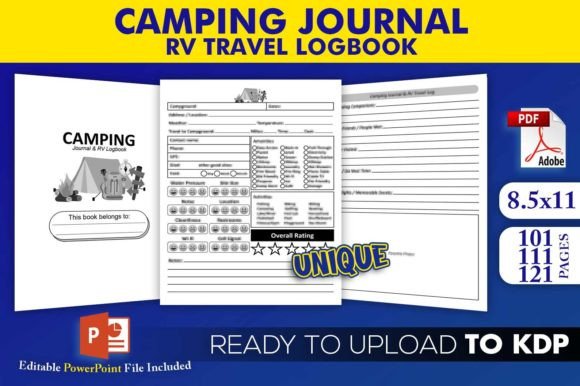
When the reno was finally done enough to drive, this logbook came along for the shakedown. New floor, new cushions, walls a soft sage I actually like.
We drove out to Farragut for a Thursday-to-Sunday test. The whole point was to find what I built wrong, and I did. The new cabinet latch I installed rattled loose by mile twelve. The cushion I was proudest of squeaked against the wall trim. I penciled every flaw in here at the campsite, coffee going cold, because pencil does not smear when the page gets a little damp.
One complaint, the travel-day sections assume you log mileage, and I never do. I just crossed those out and used the space for the fix-it list.
Three Layouts So I Stopped Stealing From The Wrong Book
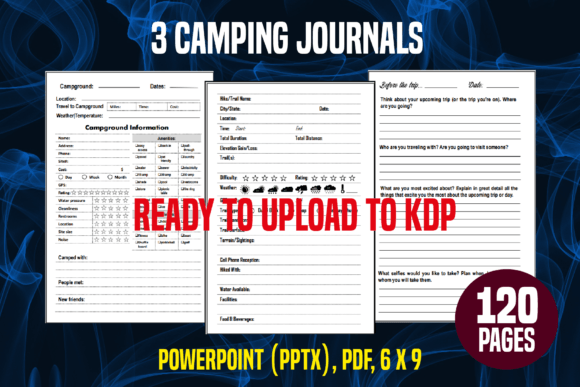
This is a set of three, and honestly the variety is the selling point for a big project. I kept ripping pages from the wrong journal mid-build, so having three distinct layouts let me actually keep things separate.
One for materials and money. One for the day-by-day reno log. One I gave my kid Juniper so she could draw her dream bunk while I sanded. Hers has more glitter pen than mine. That is the right ratio.
The catch, printing all three at once ate through a full ink cartridge at the library, about six dollars in copy credit. Worth it, but pace yourself if you are paying per page.
The Trail Book That Became A Paint-Chip Holder

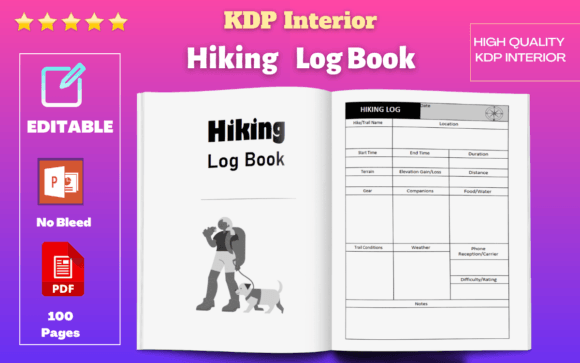
Not gonna pretend this one was for the reno on purpose. It is a hiking log. I printed it for the trails and then, classic me, started using the back half for paint chips.
The color hunt was its own saga. I taped sample swatches across two pages, wrote the store and the code under each, and carried it to three different lighting situations because that sage looked gray indoors and almost mint in the sun. Glad I logged the exact name, Sea Salt, before I committed a whole wall to it.
One honest nitpick, the hiking-specific prompts are useless for a build, so a third of the pages just sat empty. I used them for grocery lists. No shame.
The Plain Workhorse I Reach For First
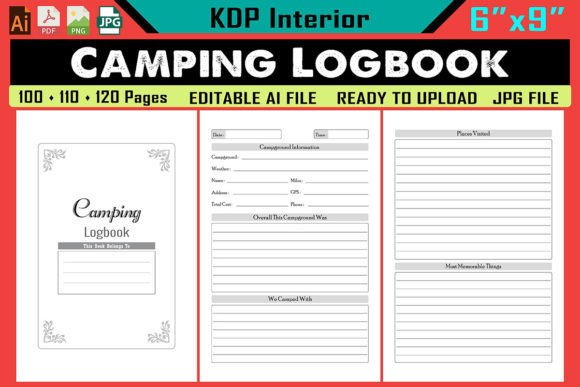
If you want one and only one to start with, it is this. No frills, big writing area, the kind of page that does not care if you scribble on it with a carpenter’s pencil.
I used it as the master log. Every other book fed into this one on Sunday nights. What I spent, what I screwed up, what the next weekend needed. When I forgot whether I had already sealed the back window, I flipped here and found I had, in fact, done it twice. Saved myself a third tube of butyl tape.
Gripe, the cover image came through a bit muddy on my printer at the library, sort of gray and washed. The insides print clean though, which is the part that matters.
My Backup Copy For The Truck Glovebox
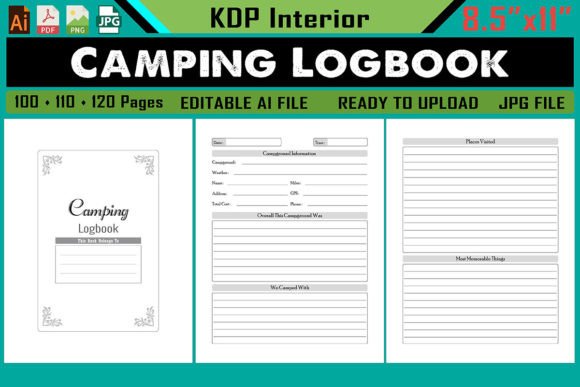
I keep a copy of a journal in the truck. Always have. This one rode in the glovebox the whole renovation winter, slightly bent, a coffee ring on the cover.
The reason is dumb but real. Half my measuring happened at the hardware store, not in the camper, standing in the aisle trying to remember if the gap behind the fridge was 14 inches or 16. Having a journal already in the truck meant I wrote the answer down right there instead of texting myself a note I would never find again.
The one thing, the binding is glued not stapled, so the corner pages started loosening by spring. A strip of duct tape down the spine fixed it. Everything on this build was fixed with duct tape eventually.
The Pretty One I Saved For The Finished Photos

After months of grease-stained pages, I wanted one nice book to actually keep. This is the one I printed last, on heavier cardstock, for the after.
Finished photos taped in. The sage wall, the new gray plank floor, the dinette cushions that took two Saturdays. I wrote a little timeline across the front pages, November to April, start to drivable. Sounds sappy. It is. After that many cold garage nights you earn a sappy page.
Nitpick, on thick cardstock my home printer fought the feed and jammed twice. I gave up and ran it at the library on their better machine. Came out crisp.
The Skinny Format I Tucked By The Bed
This one has a narrower page feel, more upright, and that turned out right for a spot I did not plan on. The little shelf I built above the new bed platform.
I keep it there for nothing important and everything small. The night I finally slept in the rebuilt camper, in the driveway, just to test it, I wrote one line. Smells like fresh wood now. Not wet dog. The platform itself I built from two sheets of plywood and a lot of pocket screws, and I logged the cut list in here so the next person, probably future me, does not start from zero.
Gripe, the slimmer layout means less elbow room per entry. Good for one-liners, tight for a full reno day. I keep the chunky journals for that.
Frequently Asked Questions
What kind of paint do you use on rv walls?
I used a bonding primer first, the sticky kind made for slick surfaces, then a regular interior latex in eggshell on top. Two coats. The primer is the part you cannot skip on those shiny laminate panels, I tried one wall without it early on and the paint scraped off with a fingernail.
The color I landed on was Sea Salt, a soft sage. Quart sizes were plenty for my little Jayco, I think I used a quart and a half total for the whole cabin.
Can you paint rv walls?
Yep. The brown duck-border wallpaper in mine was the first thing I attacked, and paint covered it fine once I prepped right.
The trick is cleaning first. There is a greasy film on old RV walls from years of cooking and propane heat. I wiped everything down with a degreaser, let it dry, then primed. Skip that and your paint will peel by the second summer. Ask me how I know.
Can you put wallpaper on rv walls?
You can, and I did, on the accent wall behind the dinette. Peel-and-stick, not the paste kind, because anything that needs water and a smoothing tool in a tiny camper is a fight I do not want.
One warning from my own mess. RV walls flex when you drive, so the seams can lift over time. I ran a thin bead of clear caulk along the top and bottom edges and that held it. Logged the roll brand in my journal so I can match it if a panel ever peels.
Can you paint over rv walls?
Honestly, yes, that is most of what a custom interior is. I painted right over the original wallpapered panels and the laminate cabinets in the same camper.
The cabinets needed a light sand and that bonding primer again, otherwise the paint just sits on top and chips at every door pull. I did mine in a creamy off-white over two cold weekends in February. Wrote the exact paint name down because three months later I needed to touch up a scuff and could not have guessed it.
Before You Pack Up
The camper drives different now. Not mechanically, it is still a 1999 with opinions, but it feels like ours. Sage walls, gray floors, cushions my neighbor Dalia and I fought a sewing machine to make. The journals are stacked in a cabinet, grease fingerprints and coffee rings and all.
I still flip through the workhorse logbook sometimes. There is an entry from a 19-degree garage night, my handwriting shaky from cold, just the words roof sealed, do not redo this. So I did not.
More Camping Ideas We Love
Heads up: some links in this post are affiliate links. If you grab a file we love, we may earn a small commission at no extra cost to you. We only feature designs we would happily pack on our own trip.