RV Decor Ideas on a Budget You Can Print Today
I gave myself fifty bucks. That was the whole budget for fixing up the inside of our 1997 Coachmen, the one I bought off a guy named Whit in Bozeman who swore the water heater worked. It did not.
Fifty dollars does not go far at a home store. It goes pretty far at the Dollar Tree on Route 9 and the Goodwill two doors down. Add a few printable files I ran off at the FedEx counter and the camper started looking like somewhere I actually wanted to drink my coffee. Mismatched, sure. But mine.
Everything below is a printable or cut file I bought for a couple dollars at an indie shop and stuck up myself. The links are affiliate, so if you grab one I get a little. Same files I taped up over a long muddy April, blue painter’s tape and all.
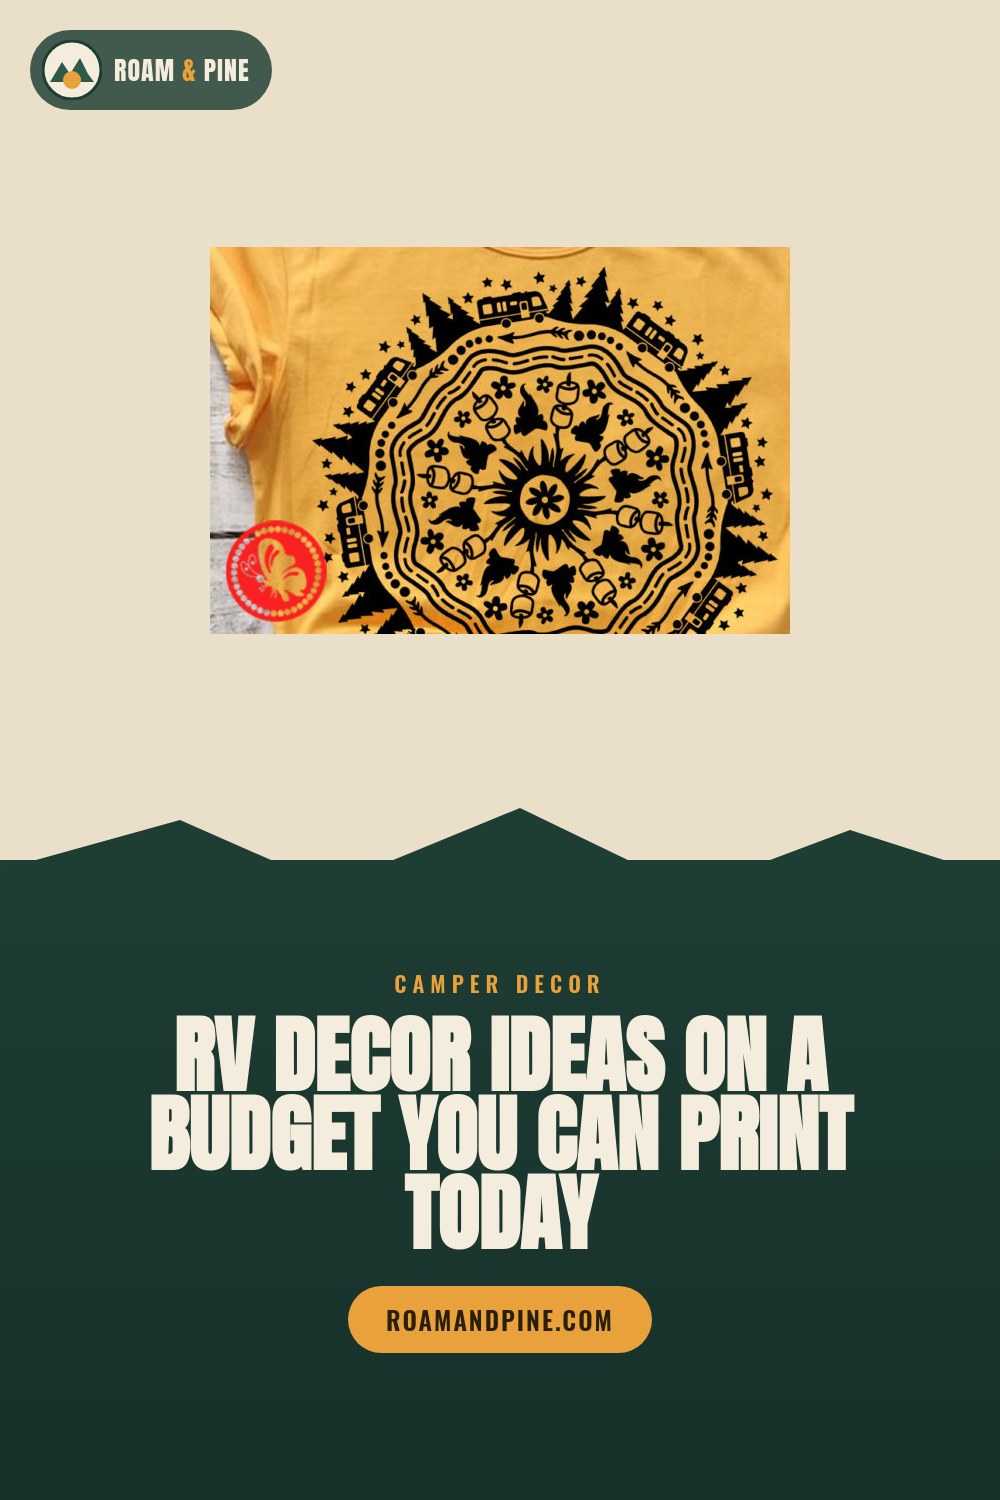
The mandala camper that hid a dent

There is a dent in our cabinet door right above the sink where I dropped a cast iron skillet, second week of owning the thing. Ugly little crater. I cut this mandala motorhome out of black vinyl on a borrowed machine and slapped it dead center over the dent.
Costs almost nothing. A dollar of vinyl off a clearance roll, twenty minutes of weeding while the kettle went. The little RV shape inside the mandala is the part people lean in to look at, which means they stop looking at the dent.
One nitpick. The fine spokes in the mandala are skinny, and if your transfer tape is cheap (mine was, Dollar Tree, of course) a couple of them lift off. Burnish hard with an old gift card.
Layered wall art for the price of scrap plywood
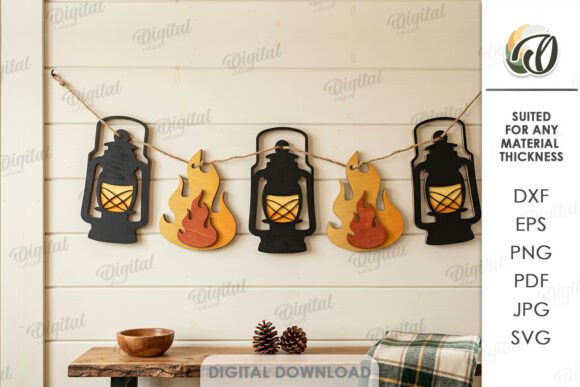
Our makerspace charges four dollars an hour for the laser and I had a credit. So I ran this 3D camping scene out of leftover 3mm ply somebody abandoned in the scrap bin. Free wood, four bucks of time.
It stacks into a little layered shadow box. I hung mine over the dinette with two command strips because I rent the camper out some weekends and cannot leave holes. Looks way more expensive than it was.
Heads up, the layers are tiny and there are a lot of them. I lost the smallest tree under the seat for a day. Bag the pieces the second they come off the bed.
A second scene because I got greedy at the scrap bin
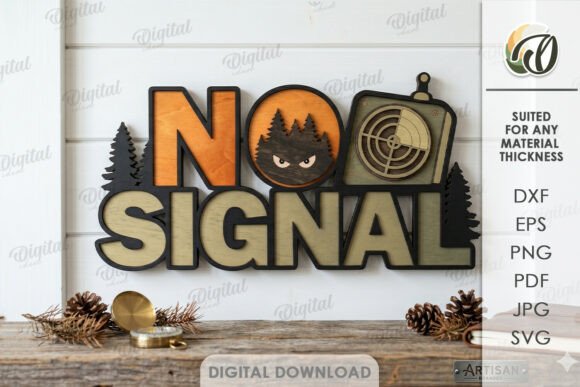
I liked the first one so much I cut this one the same afternoon. Same scrap pile, same four-dollar credit. Different scene, so the two do not look like a matched set bought off a shelf.
This version went above the bed. I dry-fit the layers with the glue cap still on first, which I recommend, because the assembly order is not obvious and I glued one backwards on the other piece earlier that day.
Small gripe. The kerf on my old laser was wide, so a few tabs went loose in their slots. A drop of wood glue fixed it. Test cut one tab before you commit the whole sheet.
The one my daughter claimed for her bunk
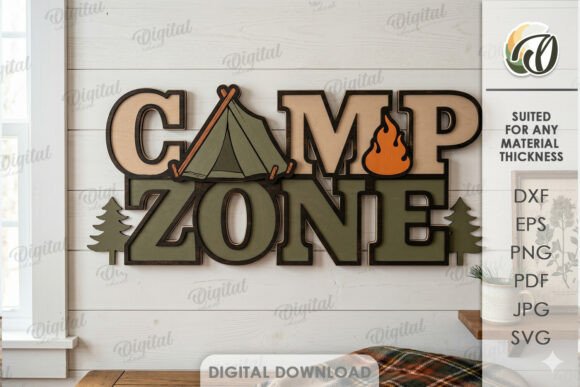
Third in the set. My daughter Posy saw the first two going up and asked where hers was, so I cut this for the wall by her bunk. Same cheap ply, basically free.
She wanted it painted. We used the leftover sample pots from the Habitat ReStore, ninety-nine cents each, pine green and a dusty orange. Took an evening. She did the trees, I did the camper.
Watch the thin railing layer. Paint pools in the cutouts if you glob it on. Thin coats, and let it dry longer than you think, ours was tacky for hours in the damp camper.
A standing raccoon for the windowsill nobody uses

We have a stupid little shelf above the stove that holds nothing useful. This standing raccoon cut file fixed that. I cut it from a single sheet of scrap and it slots together to stand on its own, no glue.
Cost me one offcut. Maybe fifty cents if I am being generous about the wood. It earns its keep mostly because the raccoon matches the actual raccoon that got into our trash at Two Rivers last August.
The slot fit is snug, which is good, but on thicker stock it will not seat all the way. Sand the tab edge a hair. Do not force it or the base cracks, ask me how I know.
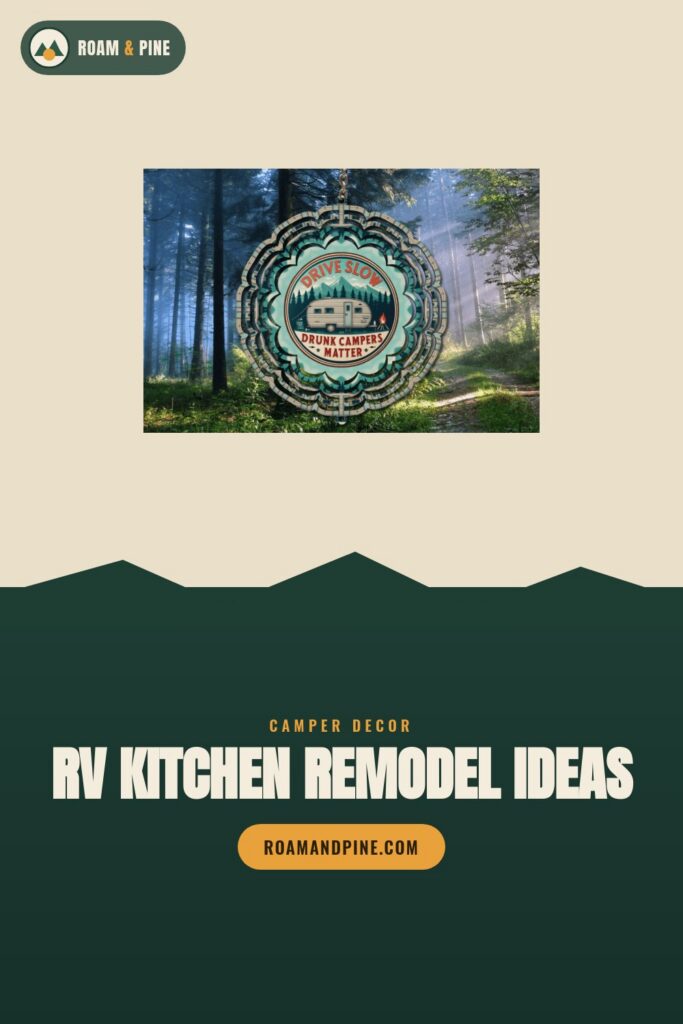
Drive slow spinner cut from a dented cookie tin

I do not have sheet metal lying around. I do have an army of dollar-store cookie tins from the holidays. This drive slow wind spinner cut fine out of a flattened tin lid with tin snips and a lot of patience.
Nearly free. The tin was a buck and already empty. I hung it from the awning arm with fishing line. It spins, it catches sun, and a guy two sites over actually slowed his truck down past our kid, which was the entire point.
Tin edges are sharp. I sliced my thumb open on the first one before I wised up and filed every edge. Wear gloves. Sand the cut line smooth before anybody touches it.
Coffee mug clipart taped above the kettle
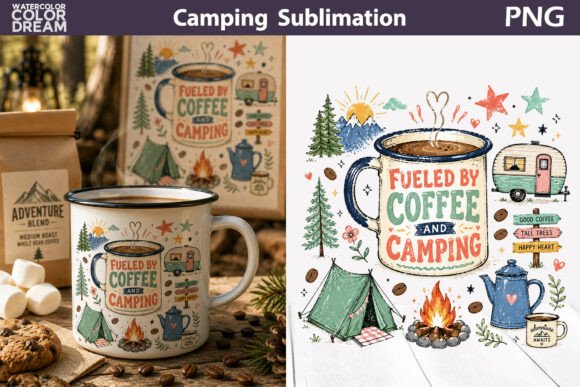
This is just clipart, but it did a job. I printed the camping coffee mug art on a sheet of cardstock at the library, twelve cents a page, and popped it into a one-dollar frame from the Dollar Tree.
Hung it right over our little kettle nook. Cheapest piece of art in the rig and honestly the one I look at most, every morning, while the propane catches.
The frame glass is flimsy plastic and scratches if you breathe on it. I left the protective film half on, peeled just the front. Looks fine from the dinette, which is the only place anyone sees it.
A garden flag that lives indoors by the door

I never bought a flag pole. I printed this camping lady design onto iron-on transfer and pressed it onto a thrifted tea towel, fifty cents at the church sale on Maple Street.
Then I clipped the towel to a tension rod across the door window. Half curtain, half flag. Blocks the morning glare and hides the fact that the original blind is missing two slats.
Iron-on on a thin towel can scorch. I pressed too hot the first try and left a faint yellow square. Use a pressing cloth and lift the iron, do not slide it.
The camper quote I framed in a thrifted picture frame
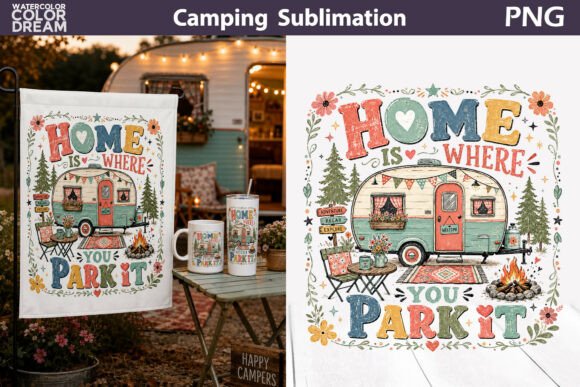
Found a chunky wooden frame at the Goodwill for two dollars, the kind with a dated photo of someone’s golden retriever still in it. I printed this camper quote to fit, swapped the dog out, done.
It sits on the shelf by the door so it is the first thing you read climbing in. The frame already had a stand, which saved me the hassle of rigging one.
My one issue, the printable is square-ish and the frame was a portrait rectangle. I had to add a cream border in a free editor to fill the gap. Measure your thrifted frame before you print, not after.
Welcome sign that started as a placemat
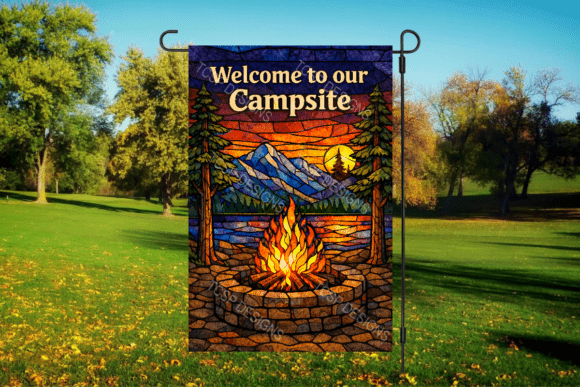
Bought a stack of cork-backed placemats at the dollar store, four for a buck or something silly. Printed welcome to our campsite onto sticker paper and stuck it to one, then leaned it on the step.
Cork is heavy enough not to blow away on a calm day, light enough to toss in the bin when we drive. I made two so there is always a clean one while the other dries out.
Sticker paper hates dew. Mine bubbled after one wet night out by Salt Fork. A strip of clear packing tape over the top, cheap laminate, fixed it for the rest of the season.
Second spinner, this time from a soda can pack

After the cookie tin worked I got cocky. Cut this camping life spinner out of the flat cardboard from a soda twelve-pack, then sealed it with a dollar can of clear spray. Spinner for basically zero dollars.
Hung it inside, off the ceiling vent, where the fan keeps it turning. It twirls every time the Fantastic Fan kicks on, which is most of a July afternoon.
Cardboard warps in humidity even sealed. Mine took a slow curl over a wet week. If you want it to last more than a season, cut it from the cookie tin instead and skip the cardboard.
A sunset lake decal over the worst water stain
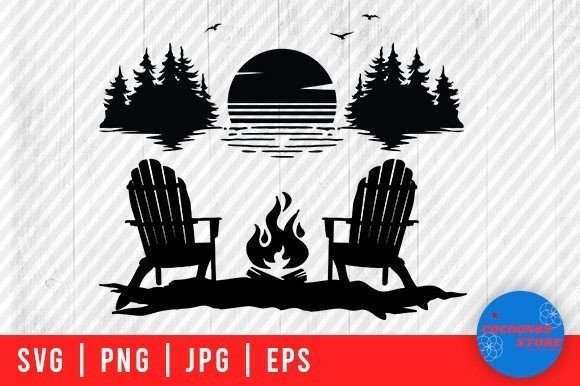
There was a brown water ring on the wall above the bed when I bought the camper, from that water heater Whit lied about. Could not paint it out fully. So I cut this sunset lake scene big, in vinyl, and put the camper right where the stain was darkest.
A dollar of vinyl, an hour of weeding the reeds. Now the first thing you see waking up is a little lake at dusk instead of a stain shaped like Florida.
The reeds and the sun rays are delicate. I tore two reeds peeling the transfer tape too fast. Go slow at a low angle, and if one tears, nobody counts reeds, just leave it.
Frequently Asked Questions
What kind of paint do you use on rv walls?
On our wallboard I used a cheap latex from the ReStore mis-tint shelf, three dollars a quart, but only after a coat of bonding primer. That primer is the whole trick. Skip it and the paint peels off the slick vinyl wallboard in sheets.
Learned that the hard way in the Coachmen. Painted a test patch with no primer, came back a week later, peeled it off with a fingernail like a sticker.
Can you paint rv walls?
Yep. Most RV walls are that thin vinyl-coated paneling and it takes paint fine if you prep it. I wiped mine down with cheap degreaser, scuffed it with a sanding sponge, primed, then painted.
The part people skip is the scuff. I rushed it on a Sunday once and the paint never really grabbed near the window. Had to redo that whole section.
Can you put wallpaper on rv walls?
Short answer, yes, and peel-and-stick is the move for a budget. I did the bathroom in a four-dollar roll of dollar-store contact paper, the marble kind, and it has held two summers.
It does lift at the seams when it gets hot. I keep a glue stick in the drawer and just press the corners back down whenever I notice. Cheap problem, cheap fix.
Can you paint over rv walls?
You can paint right over the existing walls, yes, as long as you prime first. I painted over the ugly faux-wood paneling in ours without stripping anything. Clean it, sand it dull, bonding primer, then color.
Honestly the priming was the slow part, a whole rainy afternoon. The actual color went on in an hour and I was sitting in a repainted camper by dark.
Before You Pack Up
Final tally on the Coachmen came in at thirty-one dollars. A few rolls of clearance vinyl, some scrap ply, a fistful of dollar-store frames, and maybe ten bucks of printable files. Everything else was already in a bin or in a tin in the cupboard.
I peeled the painter’s tape off the last decal on a Tuesday and the rain finally stopped. Sat on the bed, looked at the little vinyl lake where the stain used to be, drank a coffee from the mug under the framed clipart. The water heater still does not work. I will get to it.
More Camping Ideas We Love
Heads up: some links in this post are affiliate links. If you grab a file we love, we may earn a small commission at no extra cost to you. We only feature designs we would happily pack on our own trip.