Decor Ideas for RV: Our Favorite Picks
We rent our camper out half the summer now. Which means every cute thing I screw into a wall I also have to explain to a stranger, or unscrew before they arrive. So I got picky about decor that does not leave holes.
Most of what I love these days is printable or a cut file. Costs me a few dollars at the library copier, or a Saturday with the little laser my buddy Dev lets me borrow. I taped, propped, and hung most of this stuff with command strips and zip ties. Nothing permanent. Nothing my deposit hates.
These are all files I bought off an indie design shop (yes, the links below are affiliate, no extra cost to you). Quick wins. The kind of thing you redo in an afternoon when the camper feels stale.
The little camper mandala that started my no-drill phase

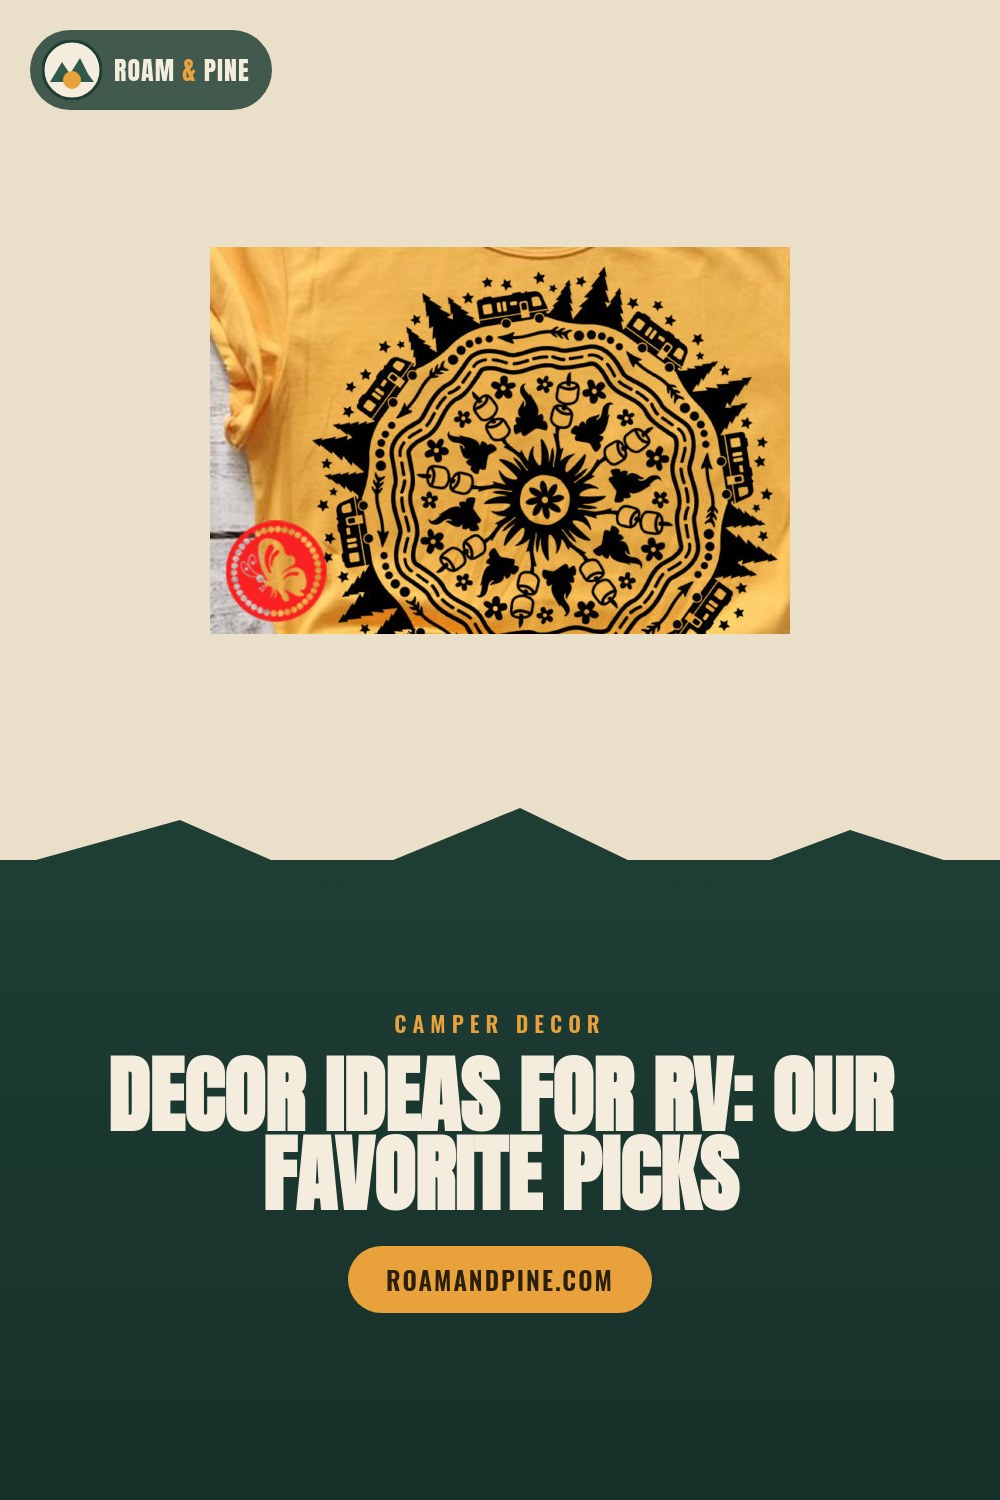
First file I ever cut for the camper. A motorhome shape filled with mandala swirls, the kind of thing that looks fussy on screen and reads clean once it is vinyl on a cabinet door.
I cut it in matte black on my Cricut, weeded it on the picnic table at the campground in Estes, lost three tiny center pieces to the wind. Whatever. Stuck it on the cupboard above the stove. Transfer tape, squeegee, done in twenty minutes.
One nitpick. The thin mandala lines tear if you rush the weeding. Go slow, especially the inner curls, or you end up patching gaps with a craft knife like I did at 1am.
A layered scene that fakes a built-in for six bucks
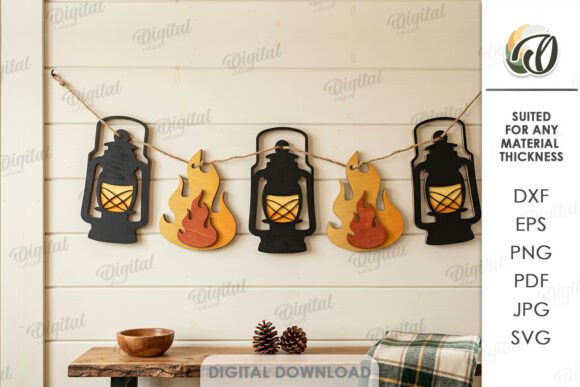
This is a 3D laser file, several plywood layers stacked into a little camping scene with depth. Trees in front, hills behind, that shadow-box look. I keep it propped on the dinette shelf with a bit of museum putty so it does not slide on a rough road.
Dev cut it for me in 3mm birch. Took maybe forty minutes plus glue dry time. I stained the back layer darker so the depth pops. Looks like something a contractor installed. It was a file.
Nitpick: the smallest cutout pieces are fragile before assembly. One snapped when I sneezed near the table. Cut a spare of the tiny bits if your laser bed has room.
The second laser scene I gave my sister for her van
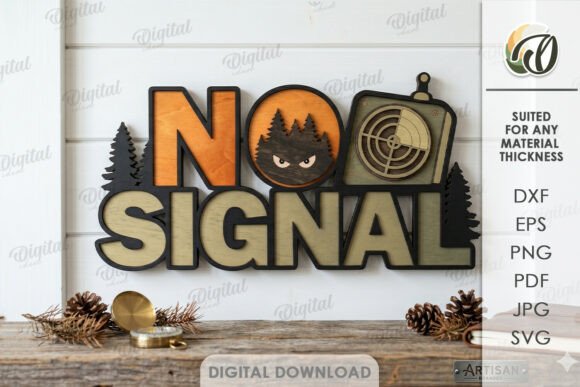
Same 3D laser family, different scene. My sister got the van in the divorce, no joke, and wanted something on the wall that was not screwed in. This one zip-tied to her overhead cabinet handle and just hangs there.
We cut it in leftover 4mm ply from her shelf project. The layers slot together so you can dry-fit before gluing, which I recommend, because she glued one backward first try and we pried it apart with a butter knife.
Nitpick: read the layer order in the file before you start. The numbering is not obvious and the front and middle look almost identical until they are wrong.
The campsite cutout I hung over the bunk with fishing line
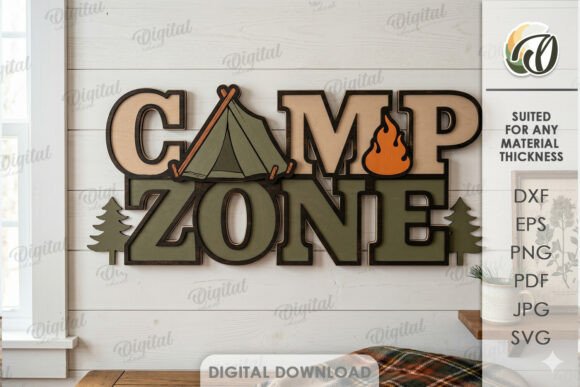
Third laser scene, and the one my kid claimed. We hung it over the bunk with clear fishing line and a single command hook. Sways a tiny bit when we drive. He likes that.
Cut in 3mm, sanded the char off the edges with a nail file because I was out in the lot and that is what was in the glovebox. Glued it on a paper plate. Smelled like a campfire for a day, in a good way.
Nitpick: laser char rubs off on light walls. Wipe each layer with a damp cloth and let it fully dry before you mount it, or you get gray smudges behind it.
A standing raccoon that lives on the dash now

A little raccoon cut file meant to stand on its own once you assemble it. We have history with raccoons (cold beans, a spork, do not ask), so this one was a must for me before I even read the listing.
I cut it small in 3mm and it stands on the dash next to the air freshener. No glue holding it down, just a tab-and-slot base, so it travels in the cupholder and comes back out when we park.
Nitpick: the slot fit depends on your material thickness. My first cut was loose and it kept tipping at stoplights. I shimmed the slot with a folded receipt. Works.
The drive-slow spinner that warns the campsite kids
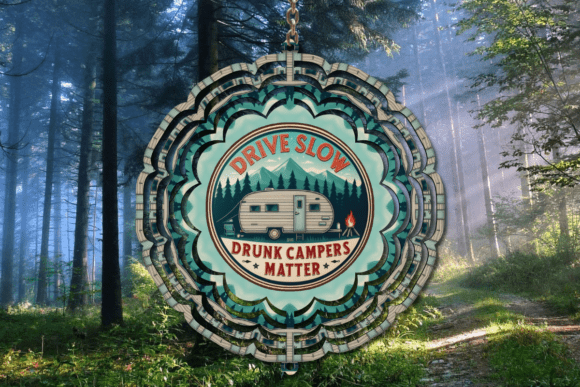
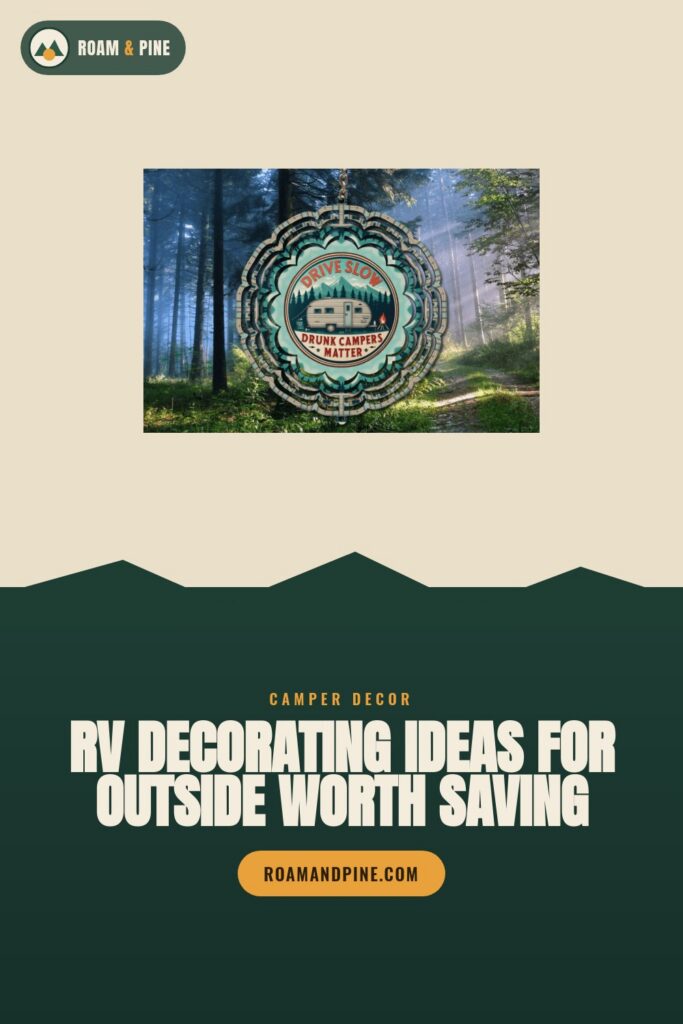
A wind spinner design that says drive slow. I hung ours off the awning arm at our spot in the Pisgah forest, mostly because the kids on bikes treat the loop road like a racetrack at dusk.
I did not cut this one in wood. Printed it on weatherproof sticker sheet, stuck it to a cheap dollar-store metal spinner blank, sealed it with a clear coat. Spins, catches the light, does its job.
Nitpick: paper-backed sticker bubbles in real humidity. Use the weatherproof vinyl sheet, not regular printable paper, or it curls off the blank by day two like mine did.
Coffee mug art that turned my ugliest cabinet into the cute one
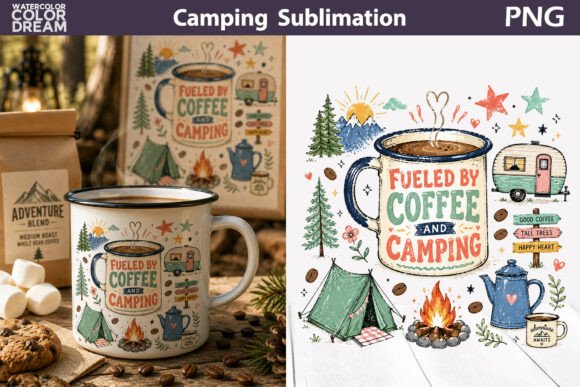
Clipart of a camping coffee mug. Simple. I printed it small, popped it in a thrift-store frame from the Goodwill in Asheville, two bucks, and propped it by the little coffee setup.
The frame leans against the backsplash on a strip of grippy shelf liner so it stays put on washboard gravel roads. Cost me almost nothing and it covers a water stain I never managed to scrub out.
Nitpick: the file is high res but small framing means you want to print at the right size or the lines look soft. I printed 4×6 first, too blurry, redid it at 5×7 on matte cardstock.
A garden flag I repurposed into a tiny door banner
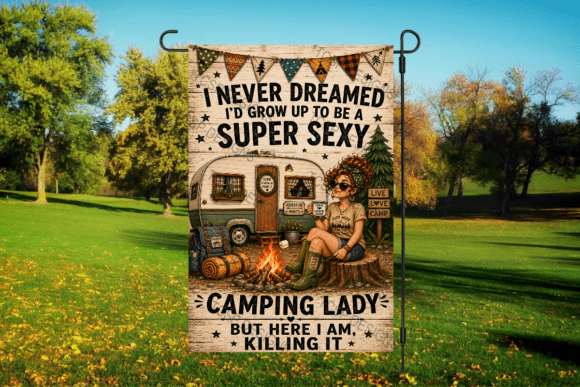
Sold as a camping lady garden flag design. I do not have a garden. I have a camper door. So I printed it on fabric transfer, ironed it onto a plain canvas flag, and hung it on a suction hook by the step.
Greets people when they walk up. My neighbor at the last site asked where I bought it and did not believe me when I said I made it on the kitchen table the morning we left.
Nitpick: iron-on transfer needs real heat and pressure. My first try peeled at the corner because I rushed the iron. Press hard, hold longer than feels right, and let it cool completely before you peel the backing.
The camper quote print I swap out every season
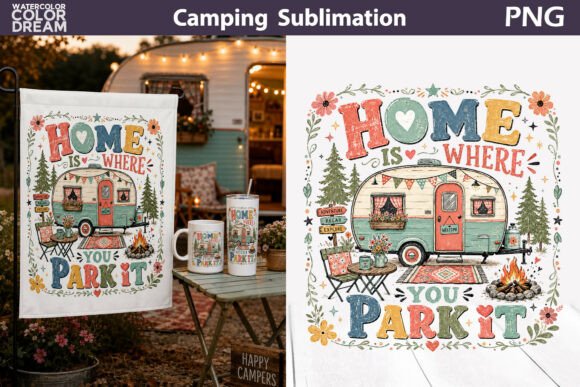
A camper quote design, just typography. I keep one clip frame by the bed and rotate prints in it, and this one has been in there since spring because I keep not getting around to changing it.
Printed at the library on their slightly-too-glossy paper, trimmed with the paper cutter they keep by the copier. Slid it into the frame in the parking lot. Two minutes.
Nitpick: glossy library paper fingerprints like crazy. If you have a choice, matte. The glossy looked great until everyone touched it asking what font that was.
The welcome flag that makes strangers stop and chat
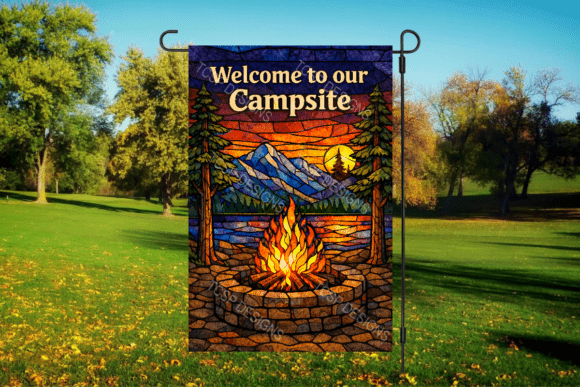
Welcome to our campsite, on a garden flag design. I treated it the same as the other flag, fabric transfer onto a blank, but this one I actually staked in the ground next to our spot with a thrift-store flag stand.
It pulls people in. We met a couple from Maine because they walked over to read it. Now we text them campsite recommendations. A six dollar file did that.
Nitpick: outdoor flags fade fast in full sun. Ours lost some punch after a long July weekend. I keep a spare printed and rolled in the drawer so I can swap it without redoing the whole thing.
A second spinner for the side that gets all the wind

Camping life wind spinner design. After the drive-slow one held up okay, I made this one for the other side of the awning where we actually get a breeze, so something is always moving out there.
Same method, weatherproof vinyl on a metal blank, clear coat. This one I added a little fishing swivel between the hook and the spinner so it turns easier in light wind instead of just sitting there.
Nitpick: cheap spinner blanks rust at the punched hole. I dabbed clear nail polish on the bare metal edge before hanging it. Tiny thing, but it bought me a whole season.
The sunset lake scene I layered into a window cling
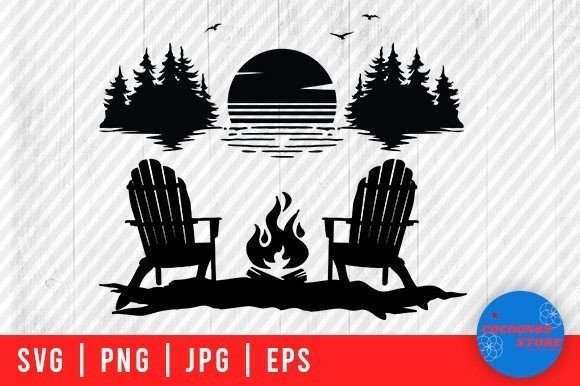
An SVG of a sunset lake scene with a camper. Instead of vinyl on a wall, I cut this from translucent window film and stuck it low on the little side window so the morning light comes through the camper shape.
Weeded it at the dinette in Moab, lost the sun rays once because they were so thin, recut just those. Stuck it on with a wet-application squeegee, no bubbles, comes off clean when I want my deposit back.
Nitpick: thin rays and reeds tear during transfer. Use transfer tape with low tack on translucent film, and lift slowly at a flat angle, not straight up, or the skinny bits stay stuck to the tape.
Frequently Asked Questions
What kind of paint do you use on rv walls?
Honestly, the only paint that has stuck for me on those slick RV wall panels is a good bonding primer first, then a low-VOC interior paint over it. I used a quart of Zinsser primer on the cabinet faces and it gripped where regular paint slid right off.
A renter asked me this last month. I told her the secret is not the paint, it is the prep. Sand it dull, wipe it down, prime it. Skip that and your fancy paint peels in a season.
Can you paint rv walls?
Yep, you can. I did our upper cabinets and one accent wall. The panels are usually a vinyl-coated luan that fights you, so the real question is not can you, it is did you prep it right.
First time I tried, I painted straight onto the shiny panel because I was impatient. Peeled at the corner within a month. Redid it with primer and a light sand and that coat is still holding two summers later.
Can you put wallpaper on rv walls?
Short answer, yes, and peel-and-stick is the move if you rent yours out like we do. It comes off without wrecking the panel, which is the whole reason I went that route.
I did a strip behind the dinette in a faux-shiplap peel-and-stick. The trick nobody mentions is wiping the wall first so it actually sticks, and pressing the seams hard. Mine lifted at one seam because I rushed it, and gravel-road vibration finished the job.
Can you paint over rv walls?
You can paint over the existing wall panels, yeah, but you cannot just slap color on the bare vinyl coating and hope. I learned that the expensive way with a peeling cabinet.
What works for me: scuff it with fine sandpaper, clean off the dust, bonding primer, then your color. If you want to skip the whole mess, that is honestly why I lean on printable decor and peel-off vinyl instead. Less commitment, easy to redo.
Before You Pack Up
None of this cost me much. A few dollars a file, some command strips, a borrowed laser, an afternoon at the dinette. The camper looks like ours now and I can still peel most of it off before a renter checks in.
If you only grab one to start, make it a wind spinner or a quote print. Cheap, fast, and you will know in five minutes if you want to redo the whole camper. I did. Twice.
More Camping Ideas We Love
Heads up: some links in this post are affiliate links. If you grab a file we love, we may earn a small commission at no extra cost to you. We only feature designs we would happily pack on our own trip.