Glamping Party Ideas We Love
My sister called me in May, sort of panicking. Eight nine-year-olds. One backyard. A glamping birthday party theme she found on Pinterest and then had no idea how to actually pull off.
So I drove over with my laminator and a stack of cardstock. We strung up a borrowed canvas tent that leaned the whole night, set up a hot cocoa station nobody asked for in June, and taped printed banners to anything that would hold tape. Half the decor came from files I printed at the library copier for like four dollars. The kids did not notice the leaning tent. They noticed the matching signs and the little tent flags.
Most of the designs below are digital files from an indie design shop, the same shop I pull camper decor from. You buy once, print as many times as you want. That part matters when you have eight kids and at least two of them will spill cocoa on the welcome sign by 7pm.
The Soft Pink One That Started The Whole Theme
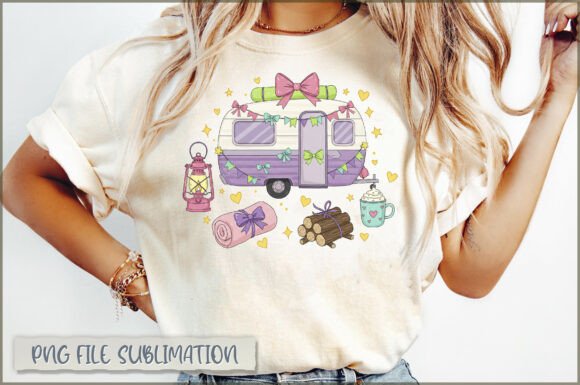
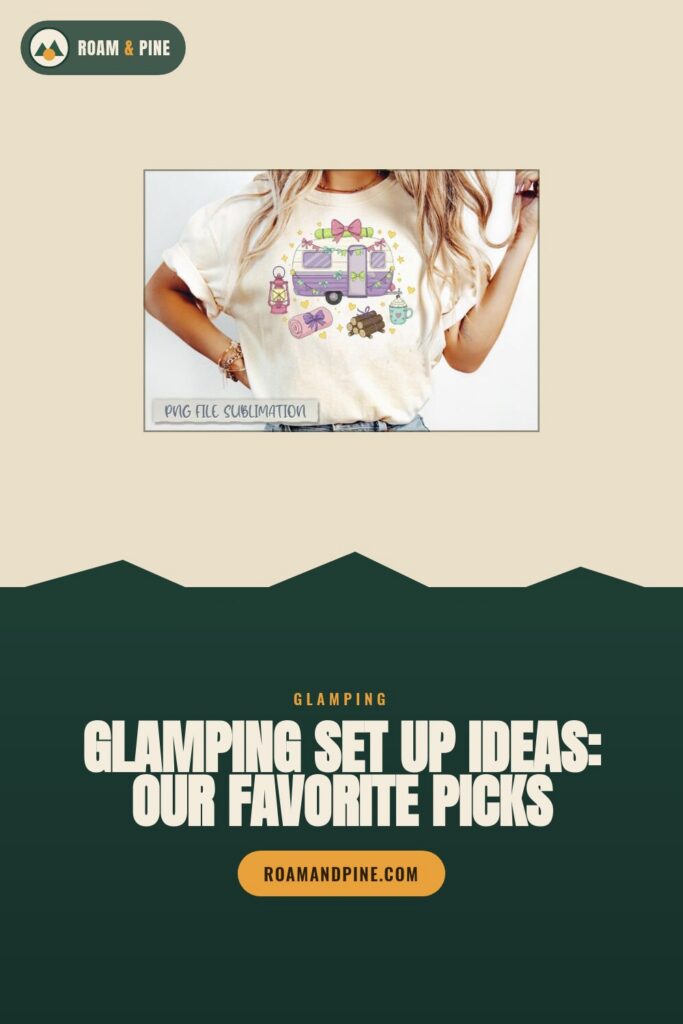
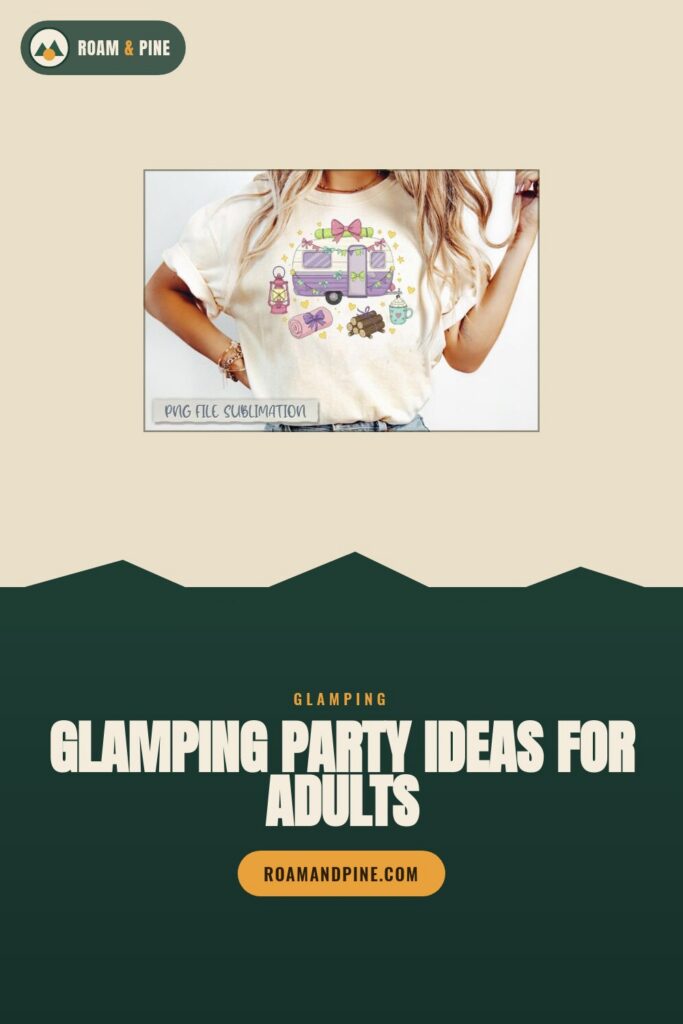
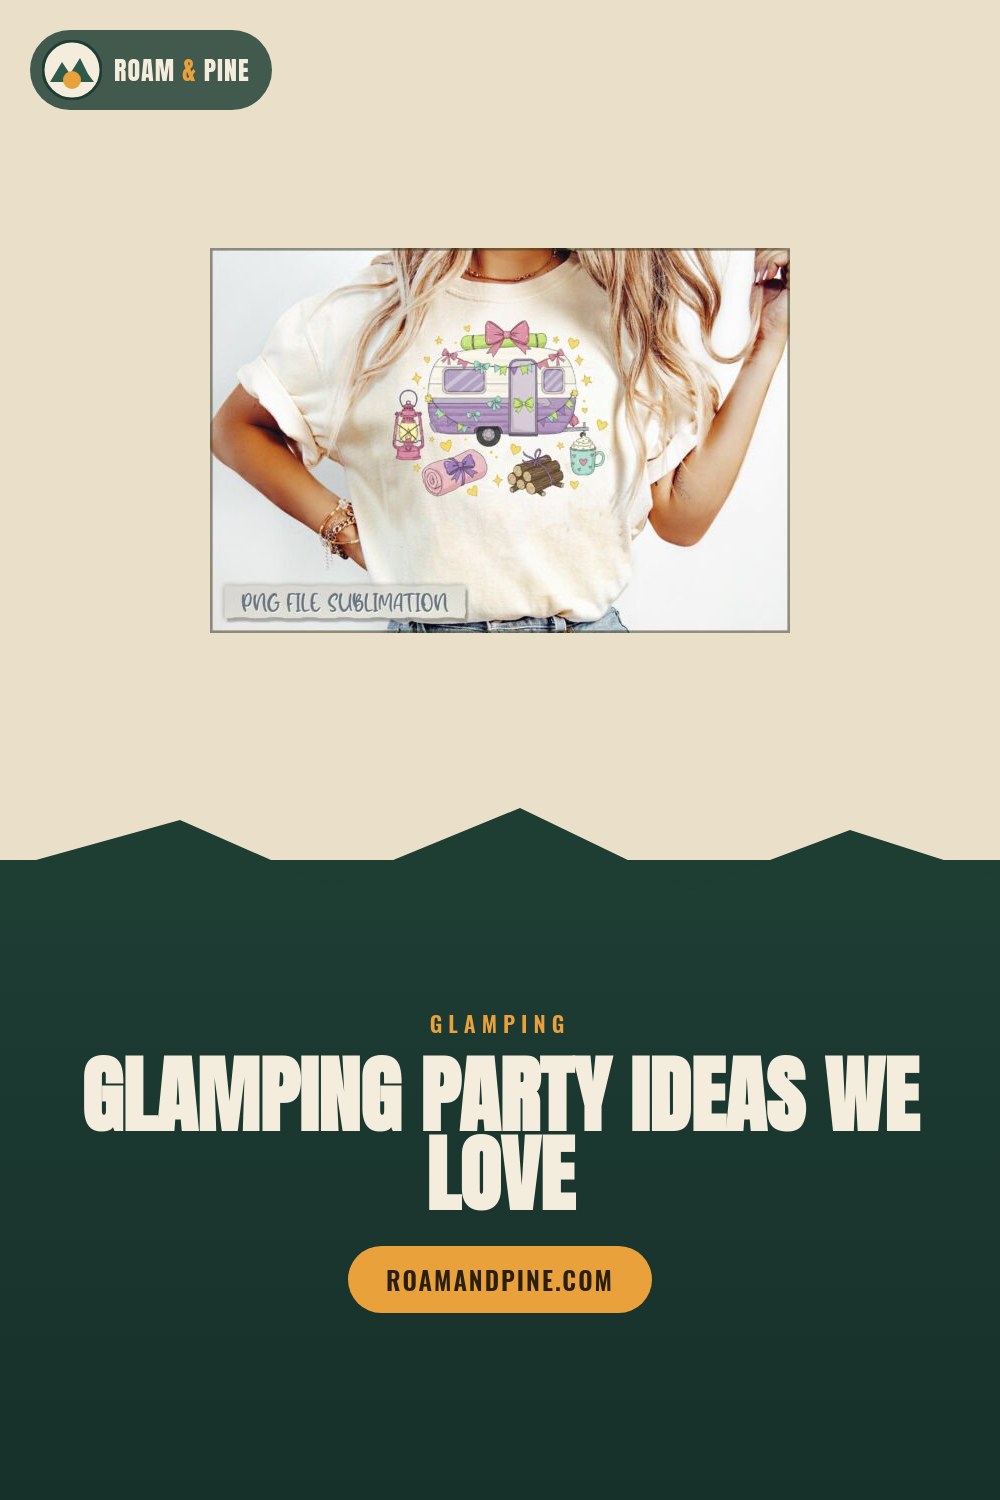
This was the file that set the color palette for the whole party. Bows, a little trailer, that washed-out coquette pink. My niece picked it off the screen in about four seconds and that was that, we were doing pink.
I printed it at 8×10 on matte cardstock and propped it at the entrance to the backyard so kids knew where to go. Also blew one up to 11×17 at the library for the photo corner. The library copier ran a little warm on the pinks, came out almost peach on the first try, so I bumped the saturation before the second print.
Nitpick. The bows have thin outlines that can look fuzzy if you scale way up past poster size. Kept mine at 11×17 and it stayed crisp.
A Tiny Trailer For Every Place Card
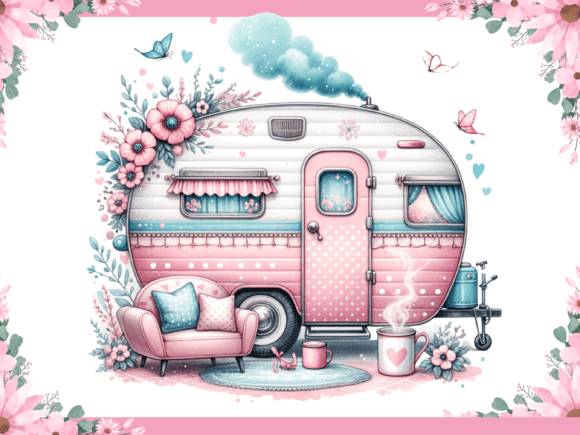
Same pink world, but this one is just the cute trailer on its own, which made it the workhorse of the party. I shrunk it down small and used it everywhere.
Printed twelve of them as tent-card place settings, folded, one kid’s name handwritten under each trailer with a gold paint pen. Did the same trailer on the goodie bags. My sister wanted them on the cocoa cups too but the cups were already covered in marshmallow by then.
One snag. The PNG has a transparent background, which is great, but I forgot and printed the first batch on cream cardstock and the trailer looked muddy against it. White cardstock, learn from me.
The Black-And-White Badge That Made It Look Official
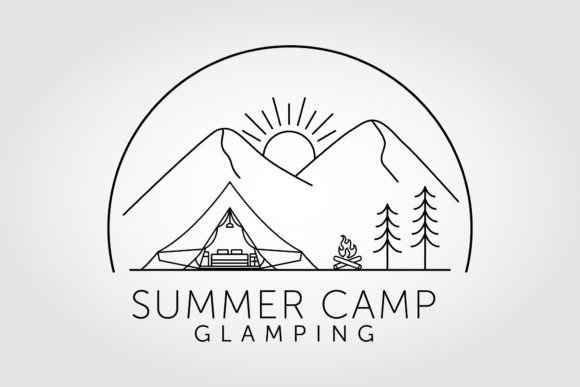
Not everything at a kid party should be pink, turns out. This line-art camp badge gave the whole thing a fake summer-camp feel, which the tweens at the party actually thought was cooler than the bows.
I printed it on kraft brown paper and stuck it on the front of the welcome tent like a real camp emblem. Also ran a sheet of mini versions through the laminator and punched holes for camp-style name badges on lanyards. The kids wore them all night and three of them took them home.
Thing to watch. It is line art, so if your printer is low on black toner it prints gray and sad. Mine was. Swapped the cartridge, reprinted, fine.
A Tipi Scene For The Backdrop Wall
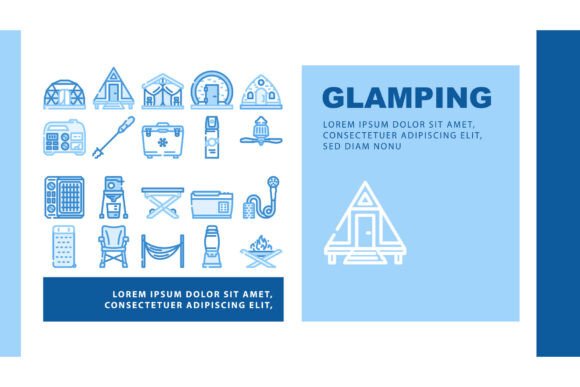
My sister has a blank fence along one side of the yard and it was killing the vibe. This tipi-and-nature scene fixed it.
I had it printed as a single large piece at the local print shop, about 24×36, eighteen bucks on foam board. Leaned it against the fence behind the cocoa table so every photo had actual scenery instead of the neighbor’s recycling bins. Kids posed in front of it like it was real.
The nitpick is on me. I cropped it slightly wrong in the print order and lost a sliver of the top tipi. Check your bleed margins before you send a big one to print, I clearly did not.
The Fancy Tent Print For The Older Kids Table
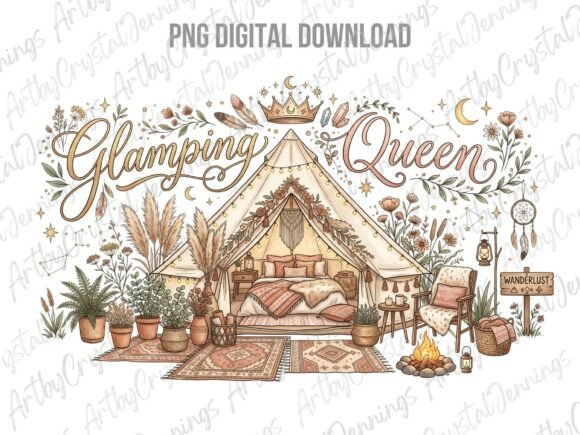
We split the party into a little-kid zone and a tween zone, and the tweens wanted things less babyish. This boho luxury-tent design hit that exact note.
Printed two at 8×10 in plain black frames from the dollar store and set them on the tween snack table. Took maybe ten minutes total. Looked like we hired someone. We did not, it was me and a glue stick on a Thursday night.
Small gripe. The boho detailing is dense, lots of little patterns, so it eats ink if you do a full-color page. I did two and called it, no regrets, but your printer will sigh.
The Birthday Girl’s Door Sign
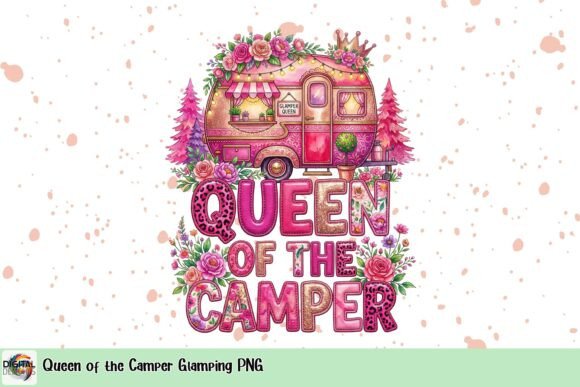
Every kid wants their own thing at their party. This Queen of the Camper design became my niece’s personal sign and she guarded it like a trophy.
I printed it at 8×10, framed it, and hung it on the front of her sleeping tent so everyone knew which one was hers. Then printed a tiny matching version for the top of her cupcake on a food-safe topper sheet. She talked about that cupcake for a week.
Watch the resolution. The PNG is sized for normal prints, so do not push it to poster size for a kid party, it gets soft. At 8×10 it was perfect.
The Cool-Toned One We Used For The Goody Bag Tags
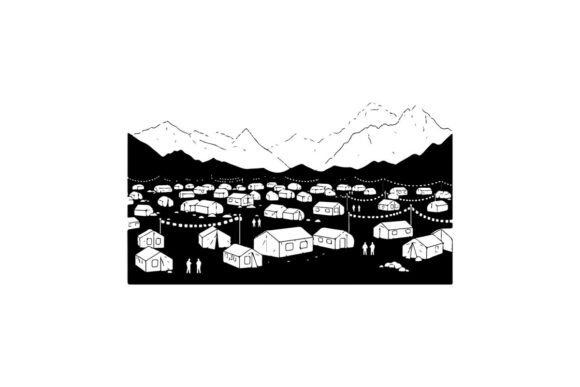
This is a winter mountain scene, which sounds wrong for a June birthday, but the blue tents read as nighttime and that worked for our after-dark part of the party.
Since it is a vector, I scaled it down without it going blurry and printed a whole sheet of small tags, then cut them apart and tied one to each goody bag with twine. Because it is vector I also recolored the sky a touch warmer in my editor so it matched the pink stuff better.
The catch with vectors and a kid party, you need software that opens them. I used a free one. If you only have a phone, ask the shop for the PNG version instead.
The Star Scene That Saved The Sleepover Part
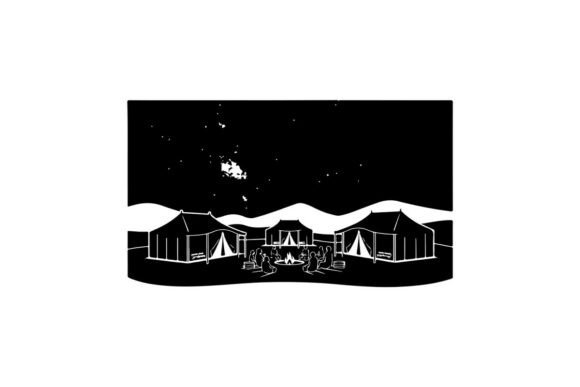
The party turned into a half-sleepover, four kids staying over, and once it got dark the backyard got boring. This starry-night design carried the evening decor.
I printed several at different sizes and clipped them along a string of fairy lights over the tents, so the whole row glowed with little night scenes. Being vector, I could blow one up to 18×24 for the main tent flap and it stayed sharp. That was the centerpiece once the sun went down.
One miss. I printed the big one on regular paper first and it curled in the evening damp. Reprinted on cardstock, taped flat, held fine through the dew.
Matching Cups Without Buying Forty Cups
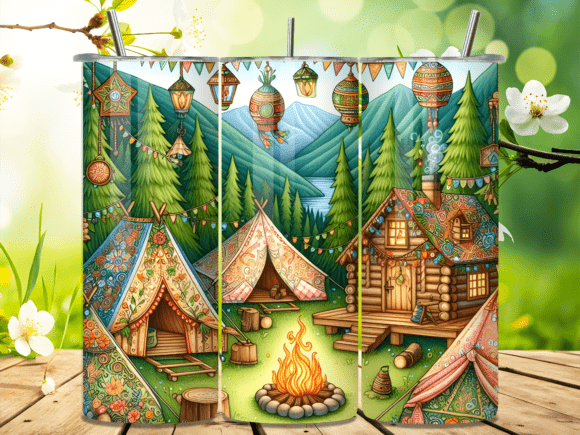
This one is a tumbler wrap, meant for water bottles or cups, and it was my cheat for making the drink station look coordinated.
I printed the wrap on sticker paper and wrapped it around plain 20oz cups from the grocery store, three dollars for a sleeve of them. Suddenly all the cups matched the theme. The boho pattern is busy in a good way, hides the inevitable cocoa drips.
Nitpick, sticker paper and outdoor humidity are frenemies. By the end of the night a couple of edges peeled. For a one-night party, totally fine. For reuse, laminate first.
The Sticker That Made The Parents Laugh
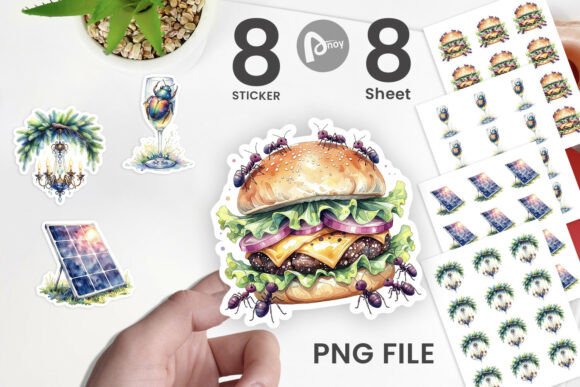
Half the fun of a party is the stuff the grown-ups notice. This watercolor glamping-fail sticker was for them, and for me, because our tent genuinely was a fail.
I printed a sheet on glossy sticker paper and stuck them on the parent coffee cups and the cooler lid. The watercolor look prints really soft and pretty, much nicer than I expected from my cheap inkjet. A camp mom asked where I bought them. I printed them, that morning, for under a dollar.
The one thing. Glossy sticker paper can smear if you touch it before it dries all the way. Give it ten minutes. I did not on the first sheet and thumb-printed half of them.
The Goofy Ornament As A Party Favor
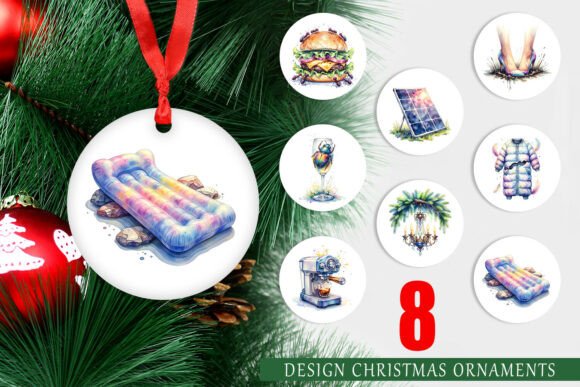
This design is built as an ornament, but at a summer birthday I used it as a flat keepsake favor instead, and the kids loved having something to take home.
I printed it on heavy cardstock, cut them into circles, punched a hole, and threaded twine through so each kid got one tied to their goody bag. The sarcastic glamping-fail text got more laughs from the tweens than anything else at the party. Cost me a sheet of cardstock and twenty minutes with scissors.
Gripe. The circle crop is fiddly by hand, mine came out a little lopsided. A two-inch circle punch would have saved my wrist. I ordered one after the fact, naturally.
The Big-Sister Cup The Tweens Fought Over
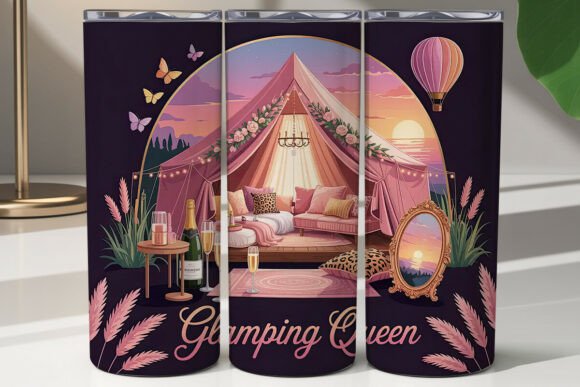
Last one, and it is another tumbler design, this time the Glamping Queen layout sized for a 20oz cup. This became the prize for the party game winner.
I printed it on sticker paper and wrapped one nicer cup with it as the actual prize, then the runner-up wanted one so badly I printed a second on the spot. That is the whole point of a printable, you just run another. The design is bold enough to read across the yard, which is why the kids spotted it and started campaigning.
The nitpick. The text sits near the wrap seam, so line up your edges carefully when you stick it down or the K in Queen ends up behind the seam. Ask me how I know.
Frequently Asked Questions
What is a glamping party?
Short answer, it is a camping party that does not actually require camping. We did ours in a backyard with one borrowed tent that leaned the entire night.
The glamping part just means you make it look cozy and styled instead of roughing it. Fairy lights, pillows, hot cocoa, printed signs so it looks like you planned it. The kids think they are camping. You are forty feet from a real bathroom.
Can I print these at home?
Yep, most of them. I ran the place cards, badges, stickers and goody-bag tags on my own inkjet on cardstock and sticker paper, no problem.
The only ones I sent out were the big backdrop pieces, the 24×36 fence scene and a couple of 11×17 signs, because my home printer maxes out at letter size. Local print shop, about eighteen bucks for the big one. Everything kid-sized, I did at home the night before.
What file formats do these designs come in?
It depends on the design, and you can usually see it on the shop page before you buy. The pink coquette ones and the tumbler wraps in this list came as PNG, which I just dropped straight into a doc and printed.
A couple, the winter mountain and the starry night, came as vectors, which is why I could blow them up big without them going blurry. If you only have your phone and no design software, grab the PNG versions so you are not stuck. I learned that after buying a vector I could not open on my old laptop once.
Do I need a Cricut or Silhouette to use these?
Honestly, no, not for a party like this. Everything I made was printer plus scissors plus a laminator I already owned.
A cutting machine helps if you want to make actual vinyl stickers or iron-on shirts, sure. But for signs, place cards, tags and cup wraps on sticker paper, a regular printer does all of it. I cut every circle ornament by hand and my wrist survived, mostly.
Before You Pack Up
The leaning tent stayed leaning. Nobody fixed it. By 9pm four kids were zipped inside it eating the backup marshmallows and arguing about whose sleeping bag was whose.
What actually made the party look like a party was the printed stuff, and it cost me maybe twelve dollars total in ink and library prints. My sister still has the welcome sign taped inside her garage. We are doing it again next June, smaller tent, more cocoa cups.
More Camping Ideas We Love
Heads up: some links in this post are affiliate links. If you grab a file we love, we may earn a small commission at no extra cost to you. We only feature designs we would happily pack on our own trip.