RV Design Ideas We Love
Our camper came with the worst interior I have ever seen. Brown on brown. A border of tiny ducks running along the top of the wall, which I did not ask for and could not un-see.
I spent most of a March weekend at my buddy Reyes’s driveway in Asheville scraping that duck border with a plastic putty knife and a hair dryer. Took six hours. My thumbnail still hurts thinking about it. But once the walls were bare I realized the cheapest way to make the place feel like ours was printed art and vinyl, not a full remodel I could not afford.
Everything below is a digital file off an indie design shop that I either printed at the FedEx on Tunnel Road, cut on my Cricut, or sent off as a transfer. I get a small cut if you grab one through my link, which mostly funds my marshmallow problem. Here is what stuck.
The First Thing I Put On The Bare Wall
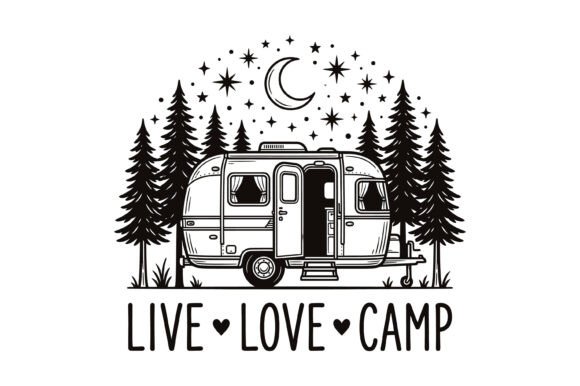
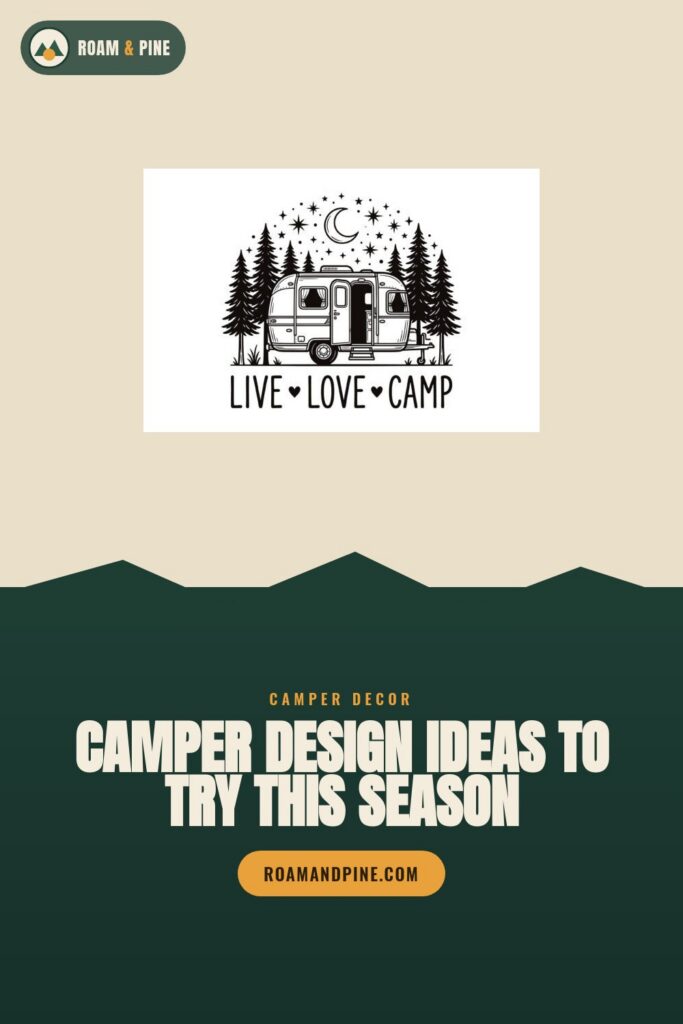
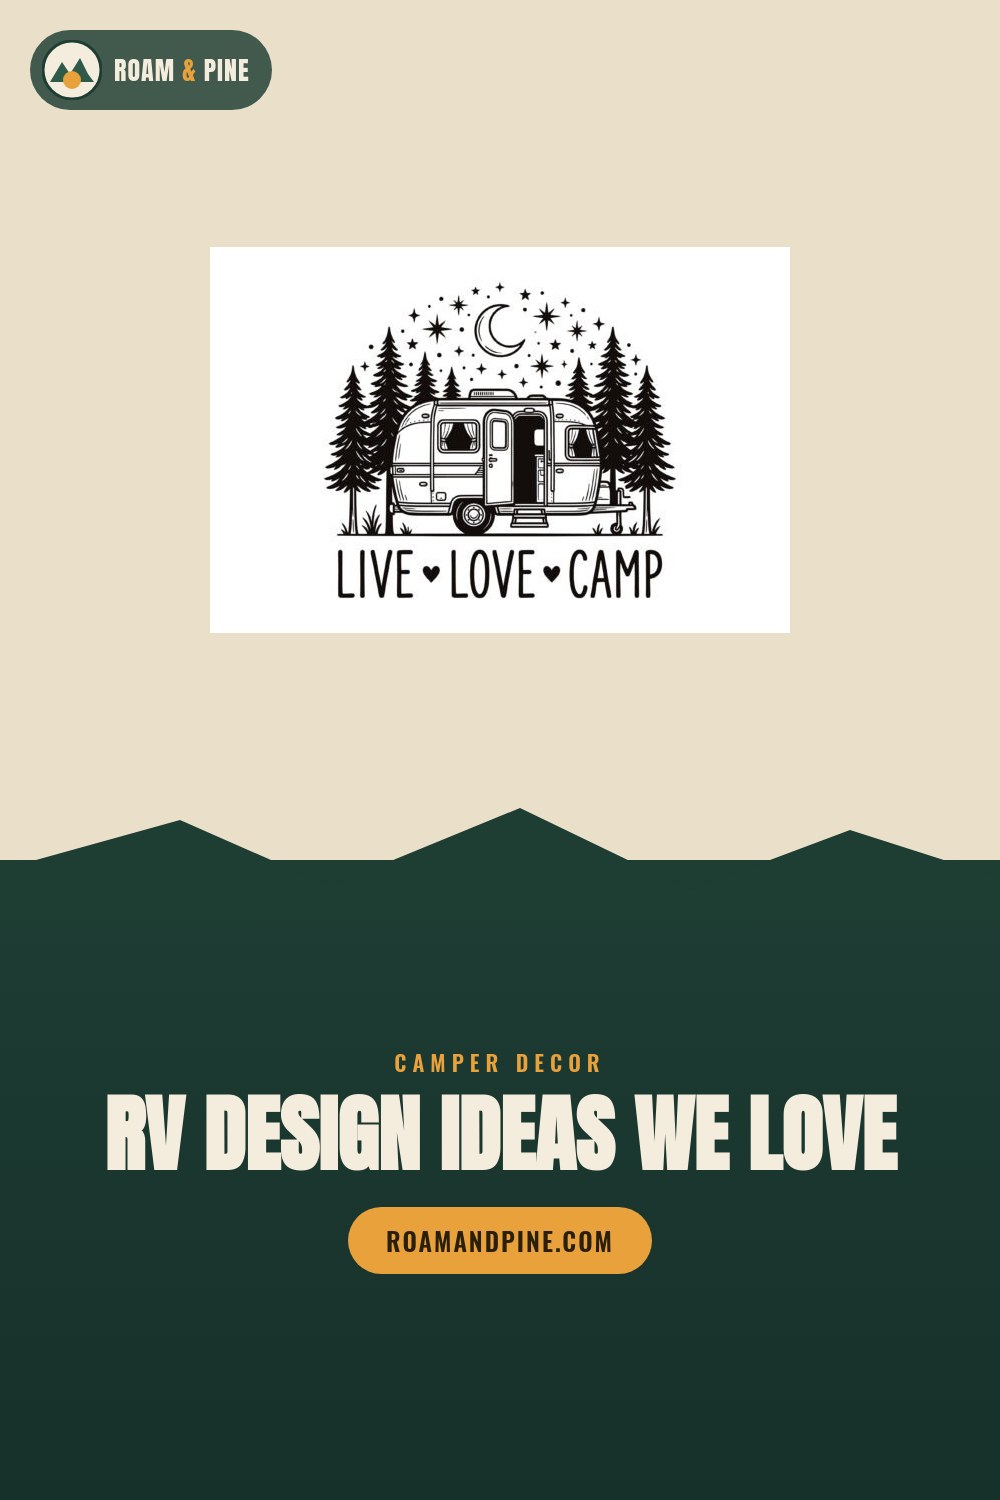
After the duck border came off I needed something on that wall fast, before I lost my nerve and just slapped up a calendar. This Live Love Camp design was it. I printed it at 11×14, matte, and floated it in a $4 thrift frame I sanded down to raw wood.
It reads clean from across the camper, which matters when your camper is nine feet long. The little retro trailer in it actually looks like ours, dome top and all. I went back and forth on whether the script font was too cute. Decided I did not care.
One nitpick. The file came with a transparent background version and a white-box version, and I grabbed the wrong one first, printed it, and ended up with a faint gray rectangle around the art under the FedEx lights. Reprinted on the transparent one. Check before you pay for the print.
What Went On The Cupboard Door
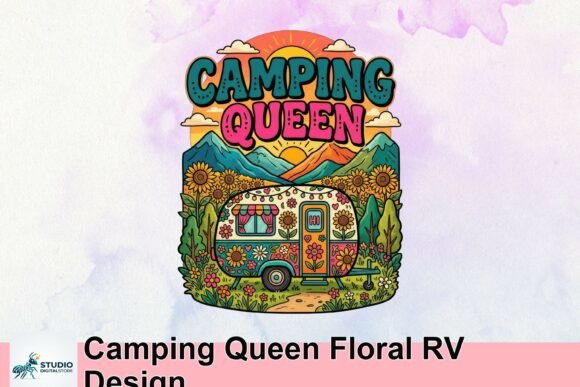
My partner Dana claimed the kitchen cupboard as her territory the day we bought the thing. So this Camping Queen floral design went there, cut as a vinyl decal on my Cricut, weeded at the dinette table while it rained.
The florals have a lot of thin connecting bits. If you cut this in vinyl, slow your machine down and use a fresh blade or the petals tear when you transfer. I learned that on the second attempt. The first one I peeled too fast and lost half a flower.
It also prints great if vinyl scares you. I did a small 5×7 print for a friend’s trailer last August and it held up taped to her bathroom door all season, even with the humidity.
The One My Kid Picked
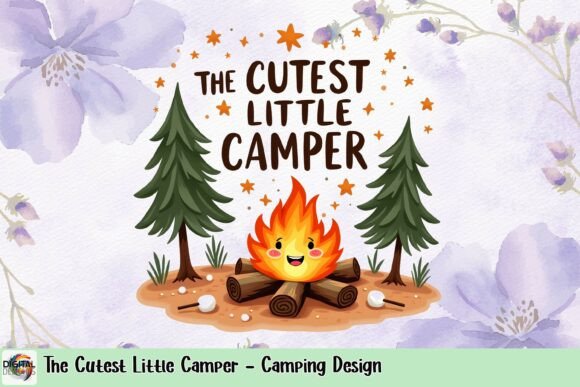
I let my eight-year-old, Wren, choose one design for the bunk wall. Out of maybe forty I showed her she went straight for this cutest little camper. No hesitation.
We printed it small, 8×10, and stuck it up with the removable putty strips so we can swap it when she inevitably changes her mind. The colors are soft, kind of vintage pastel, which is not what I expected from the thumbnail. It looks more grown up in person than online.
The only thing is the camper illustration sits low in the frame with a lot of empty sky above. Bugged me at first. I cropped it tighter in the print app and it fixed itself in two minutes.
The File I Used To Brand Our Tiny Side Hustle

Dana sells firewood and kindling bundles out of the camper at a Saturday lot near Black Mountain. We needed something to put on the chalkboard sign and the bundle tags. This RV wing logo design did it.
It is built as a letter-mark, so you drop your own initial into the wing shape. We used a B for Black Mountain Kindling. Looks like an actual little brand now instead of a marker scrawl. I printed the tags on cream cardstock and punched a hole for the twine.
Worth flagging, the wing detail is fine and dark, so on cheap kraft tags it muddied up. I switched to a heavier 80lb cardstock and it printed sharp. The kraft just could not hold the thin lines.
What Ended Up On A Shirt And Then The Wall
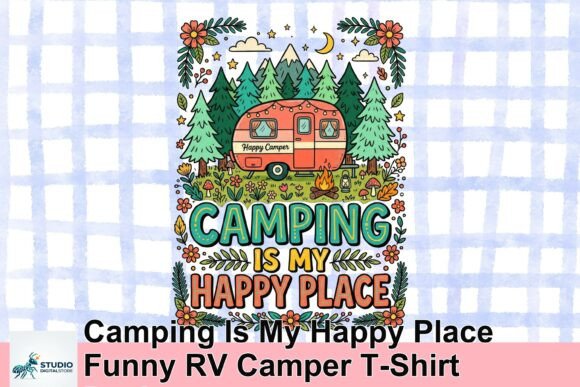
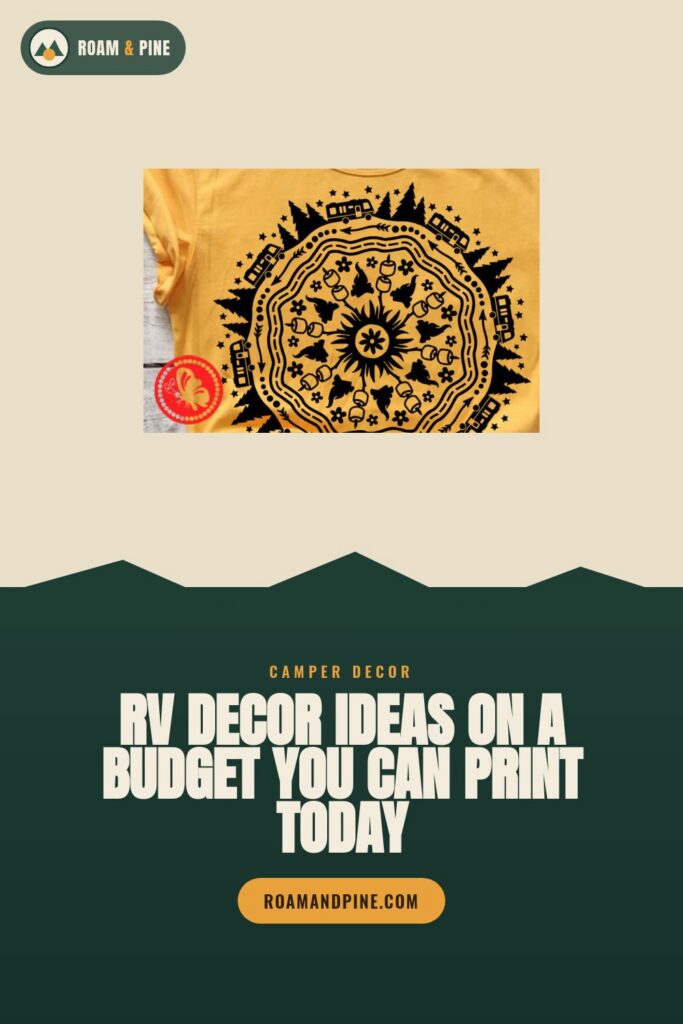
This one started as a shirt. Camping Is My Happy Place, with the goofy camper graphic. I sent it off as a DTF transfer and pressed it on a thrifted gray tee for myself.
Then I had transfer left over so I pressed the spare onto a canvas tote and now it hangs by the camper door holding the dog leash and the bug spray. Same file, two jobs. That is the part I like about the design-style files, they jump from fabric to whatever.
The text is a little wide. On a youth shirt it ran off the printable area and I had to scale it to about 80 percent. Adults are fine. Kids, shrink it first or it wraps around the side seam.
The Loud One For Summer
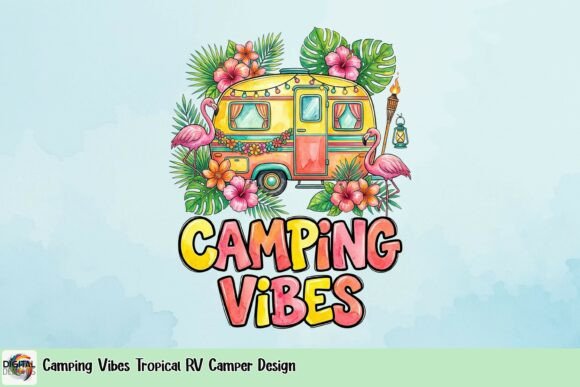
Most of our camper is muted, raw wood and sage green. But I wanted one wall that was just summer the second you walked in. Camping Vibes Tropical does that. Palms, sunset, the works.
I printed it big, 16×20, at a local print shop in Greenville because my home printer streaks anything with that much solid color. Cost me eleven bucks and was ready the next morning. Pinned it above the foldout couch with brass tacks.
Fair warning, the palette is saturated, so the colors looked slightly darker printed than on my laptop. Not bad, just deeper. If you want it brighter, bump the print exposure a notch when you order.
The Sneaky Little Monogram By The Door

I am a sucker for a monogram. This VR or RV monogram is a tidy interlocking mark, and I cut it tiny, maybe three inches, in matte black vinyl and stuck it on the door frame right where you grab the handle.
It is the kind of detail nobody notices on purpose but everyone’s hand brushes it climbing in. Makes the whole thing feel finished. I also threw it on our two travel mugs so they stop walking off at group sites.
The interlock has a real narrow gap between the letters. At three inches that gap nearly closed up when I transferred it and the letters blurred together. Cut it at four inches minimum and the negative space survives.
The Cozy Nighttime Scene Over The Bed
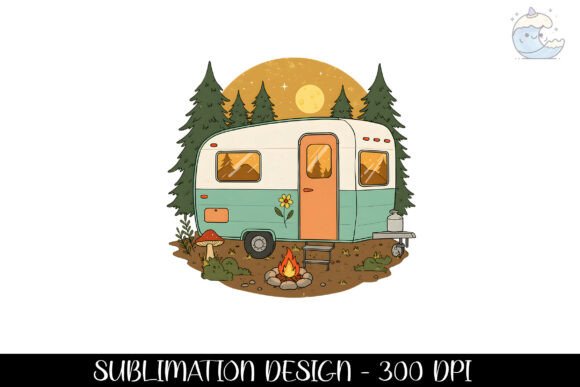
There is a campfire-and-RV night scene in this file that I wanted right over our bed for the dark blue of it. We did a long week at Davidson River last fall and the real sky looked exactly like this print, so it stuck.
It is a PNG, so I dropped it into a free print app, sized it to 12×16, and ran it on photo paper at home. The dark areas need decent paper or they go blotchy. Plain copy paper turned the night sky into a smudge the first try.
Reprinted on glossy photo stock and the campfire actually glowed. Cheap fix, big difference. I would not bother framing it under glass either, the matte-to-glossy contrast carries it fine on its own.
The Tumbler That Survived The Whole Season
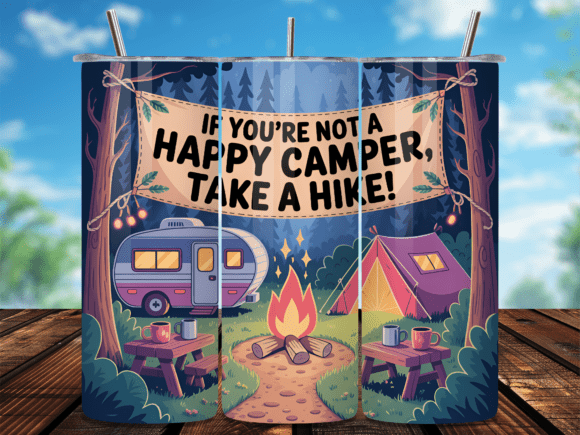
This Happy Camper design is built as a tumbler wrap, sized to go all the way around a 20oz cup. I made one for Dana’s birthday in May and one for the camp mom two sites over who kept admiring it.
I printed the wrap on sublimation paper, pressed it on a white tumbler, and it has been through the dishwasher more times than I should admit and the print is still there. The wrap lines up edge to edge if you trim right on the crop marks.
The one catch, the design assumes a specific tumbler taper, so on a straight-sided cup the top and bottom of the art pinched. Use the tapered blank it is sized for and the seam disappears. The mismatched one I keep for pens now.
The Weird One I Almost Skipped
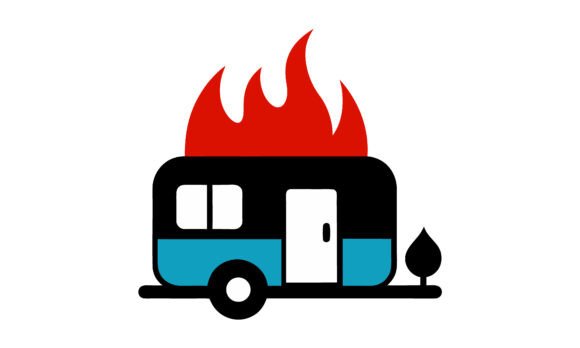
A flat-design burning camper trailer concept. I will be honest, I scrolled past it three times. It is a stylized graphic of a trailer on fire, more art-poster than cute. Then it grew on me as a print for the storage bay door, of all places.
It has this bold retro travel-poster look once it is big. I ran it at 11×17 on the FedEx self-serve machine for under three dollars and it reads like something off a 1970s national park wall. Dana thinks it is grim. I think it is funny.
The flat vector colors print clean even on basic paper, which I did not expect. No blotching, no streaks. The only fuss was the long aspect ratio, it does not fit a standard frame, so I just clipped it to a board with bulldog clips.
What I Gave Away At The Group Trip
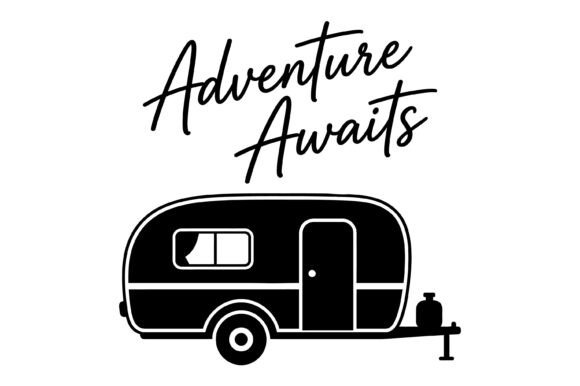
Adventure Awaits, with the little camper underneath. I made a stack of these as 5×7 prints to hand out at a six-family group trip up near Boone in April. Everybody taped theirs inside their rigs by the end of the weekend.
It is the most giftable one in the bunch. Neutral enough that it works in anyone’s camper, specific enough that it is clearly camping. I printed twelve copies on cardstock the night before and it ate exactly one ink cartridge, which I did not plan for.
My gripe is the font weight on Awaits is a touch thin, so at 4×6 it started to feel delicate. At 5×7 and up it holds. Do not shrink this one to a tiny print, it loses the punch.
The Cut File That Made The Matching Set
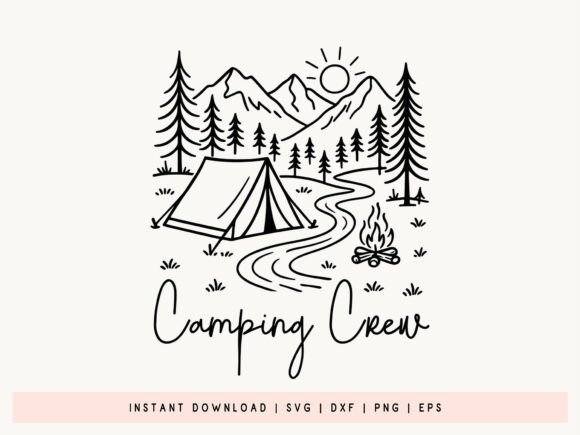
This Camping Crew design comes as a real cut-file set, the SVG and DXF and the rest, so it was the one I leaned on for vinyl projects all over the camper. Door, cooler lid, the toolbox.
Because it has the layered versions, I could pull it into Cricut Design Space and recolor each piece to match our sage-and-cream thing instead of taking whatever colors were baked in. That flexibility is the whole reason I kept reaching for it. Made a matching set of four labels in an afternoon.
One honest snag, the DXF imported with a couple of stray nodes that left tiny floating bits when I cut. Took five minutes to delete them in the software first. After that, clean cuts every time.
Frequently Asked Questions
What kind of paint do you use on rv walls?
Honestly? I used a water-based acrylic primer first, then a satin latex over it, the cheap quart from the hardware store in Asheville. The trick is not the paint, it is the prep. RV walls are usually that slick vinyl-coated luan, and paint slides right off it bare.
I learned that when my first coat peeled in a strip the size of my hand by week two. Scuff it with fine sandpaper, wipe it down, prime, then paint. Did mine that way and it has held through a full summer of slamming cupboards.
Can you paint rv walls?
Yep, you can. I did our whole interior and it is the single biggest change for the least money. The brown went away in a weekend.
The only real warning is those walls flex when you drive, so use a flexible primer and do not go thick. I globbed it on heavy in one corner trying to cover a stain fast and it cracked along a seam after the first long drive. Thin coats, let it cure, and it moves with the camper instead of fighting it.
Can you put wallpaper on rv walls?
I did peel-and-stick in the bathroom and it worked, with one big caveat. The textured vinyl wall underneath shows through if you do not smooth it down hard. Mine bubbled along the bottom because I rushed the last strip at midnight.
A camp mom at our lot swears by lining the wall with a thin primer or a coat of paint first so the stick-on grabs better. I redid my bottom strip her way and it finally laid flat. Heat from a hair dryer helps it conform around the curved corners too.
Can you paint over rv walls?
Short answer, yes, but not straight onto the bare factory surface. That slick coating is the enemy. You have to give it tooth first.
My first attempt I painted right over the existing wall, no prep, because I was impatient and it was raining and I wanted it done. Peeled in days. Round two I sanded lightly, hit it with a bonding primer, and then painted, and that coat is still on the wall a year later. The prep is boring and it is the whole game.
Before You Pack Up
None of this was a remodel. I never opened a wall or rewired a thing. It was a putty knife, a Cricut, a stack of printed files, and a lot of nights at the dinette weeding vinyl while Dana fell asleep.
The duck border is gone. The walls are sage. Wren’s little camper print is putty-stuck to the bunk wall, slightly crooked, and I have stopped fixing it. Last trip up to Boone somebody asked who did our interior and I just pointed at the FedEx receipt.
More Camping Ideas We Love
Heads up: some links in this post are affiliate links. If you grab a file we love, we may earn a small commission at no extra cost to you. We only feature designs we would happily pack on our own trip.