Campervan Food Storage Ideas
Our van galley is about as wide as a kitchen drawer. I am not kidding. The first real trip, up to Sawtooth Forest last August, I packed like we were feeding a soccer team and then spent the whole switchback road listening to cans roll into the wheel well.
Food storage in a campervan is mostly about admitting you have less room than you think, then making the room you do have actually findable. Bins that latch. A snack drawer my daughter can reach without unbuckling. Labels so I am not opening four containers to find the oats at 6am.
Most of what I lean on now is just printed and stuck on. Watercolor bits, a couple of sarcastic stickers, a seamless pattern I ran across a drawer liner. They are cheap files off an indie design shop, so if a link sends me a few cents, that is what keeps the camper coffee stocked. Here is what actually earns its spot.
The Coaster That Saved My Cupholders From Cold Brew
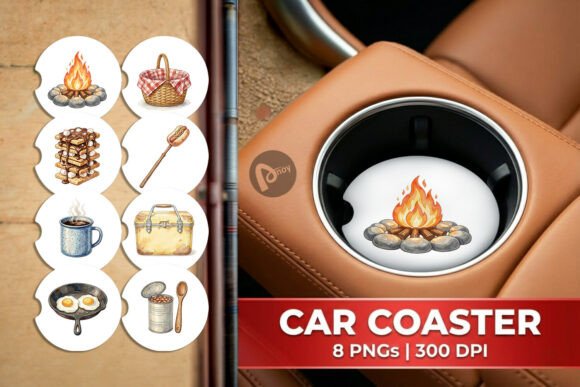
Our two cupholders up front used to be a science experiment by day three. Sticky rings, a layer of pine needles, one mystery splash I never identified. I printed this watercolor camp food coaster onto sticker paper, cut two circles, and pressed them into the cupholder bottoms. Now the mess wipes off the print instead of soaking into the plastic.
The art is soft, little camp-food doodles, the kind of thing that makes the dash feel less like a rental and more like ours. I also tucked a spare under the propane stove as a heat pad for hot pans. Worked fine.
One nitpick. The PNG has a transparent background, which is great until you forget and print it on clear sticker stock, where the pale colors basically vanish. Print it on white. Learned that after wasting one sheet at the library copier.
Slapping Jokes On The Snack Bins So Nobody Asks Me Where The Chips Are
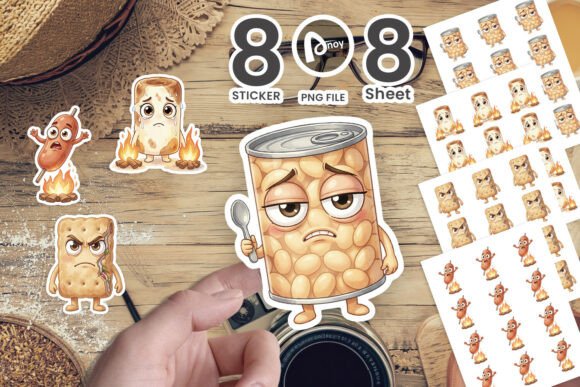
I have a thing about labeling bins, ever since my buddy Reuben dug through every container in the van looking for trail mix that was, of course, in his own backpack. This sarcastic camp food sticker went on the lid of the junk-snack bin. The dry, funny line does the job a plain label never did, people actually read it.
Watercolor style, so it does not scream. I ran it through the laminator first, then peeled the backing, because raw paper stickers in a van die the first humid night. Mine survived a rainstorm at Loon Creek that flooded the floor mats.
The catch, the file is one sticker design, not a sheet of twelve. If you want a dozen for a road trip with kids, you are arranging copies yourself in whatever editor. Took me ten minutes to tile six on a page. Not hard, just not done for you.
A Keychain For The Spare Pantry Key Nobody Could Ever Find
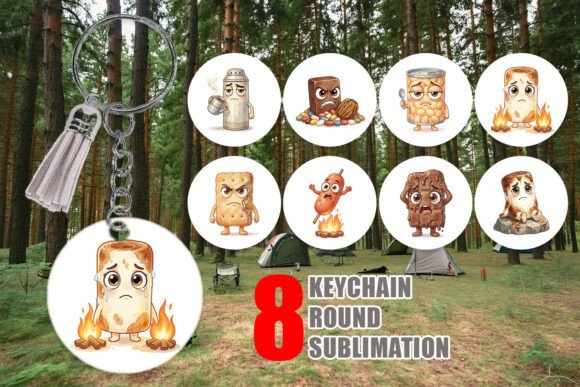
We added a little latched cabinet for the breakable food, glass jars, the good olive oil. It locks with a tiny key that vanished within a week. So I printed this sarcastic camp food keychain design, glued it back to back, punched a hole, and now the key hangs off something I can spot in the dark.
The watercolor and the snarky text make it feel like a thing my kid made, not a parts-bin tag. She picked the spot it hangs, by the door hook. Bright enough to catch a headlamp beam.
Honest gripe, it is a flat printable, so to make it last you need to laminate it or seal it in resin or shrink plastic. I did the lazy laminate-and-trim version. Corners curled after a month near the stove. Resin would have held.
The Second Keychain, Because The First One Drowned In Loon Creek
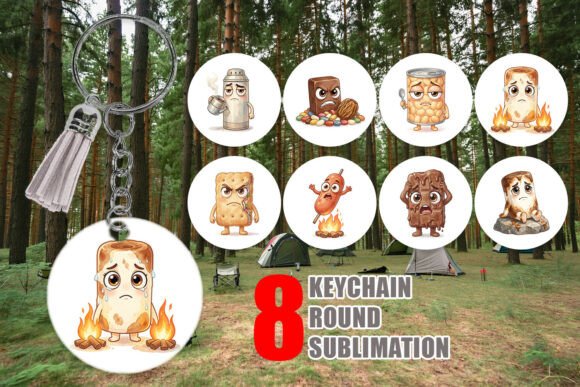
Yes, a second keychain. The first design lives by the door, this one I clipped to the cooler zipper after the original tag I made from a cereal box turned to mush. This sarcastic camp food keychain is the sister design, same watercolor mood, a slightly different joke, so I can tell the cooler key from the cabinet key at a glance.
Color-coding by which dumb joke is printed on it sounds silly until you are half asleep grabbing the wrong key. I sealed this one properly, two coats of brush-on resin from the craft store, about four bucks. Bombproof now.
My one nitpick is the same as the others, you get the art, not the hardware. Rings, hooks, the resin, all you. I keep a little zip bag of jump rings in the glove box for exactly this kind of project. Cheaper than buying finished keychains.
Stamping The Same Funny File Onto Bag Tags For The Kid’s Camp Stuff
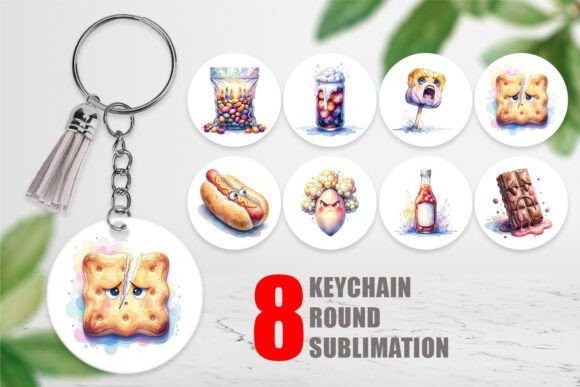
This one is a PNG, so it went further than a keychain for me. I printed the sarcastic camp food design onto sticker sheets and turned it into luggage-style tags for my daughter’s day-camp cooler bag and her snack pouch. Same joke, three sizes, scaled in the print dialog.
The transparent PNG meant I could drop the art onto a colored tag background without a white box around it. Looked clean. I matched it to the green of her water bottle so the whole kit looks like a set, not random stickers.
Nitpick, because it is high resolution, the file is a chunk of megabytes, and the library copier I use choked on it once and printed at a crawl. I now resize a copy down before I bring it in. Two minutes at home saves a sigh at the printer.
Lining Every Drawer So The Inside Of The Van Stops Looking Like A Toolbox
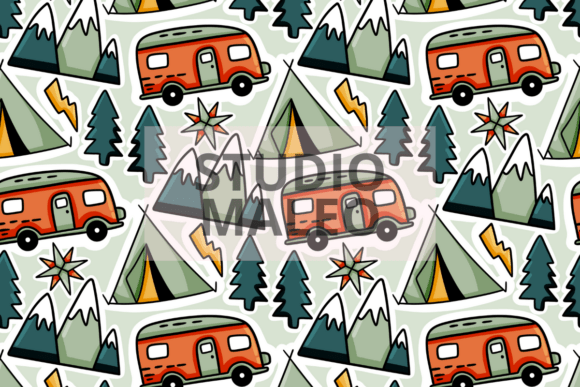
This is the sleeper of the bunch. A seamless camping pattern, meaning it tiles edge to edge with no break, which is exactly what you want for shelf and drawer liner. I printed it across several sheets, taped them on the backs, and lined the food drawers. Open one now and it is little vans and pines instead of scratched melamine.
It also wipes clean if you laminate the sheets first, which I did for the drawer that holds oil and spices. The one I left as plain paper, in the dry-goods drawer, soaked up a coffee spill at Redfish Lake and I replaced it in five minutes. That is the upside, replaceable is fine.
Nitpick, lining a full drawer eats a surprising amount of ink and paper, four sheets per drawer for me. I batched all the printing in one library trip to keep it from being annoying. Color drafts add up otherwise.
Not Food, But The Shirt I Wear To Haul It All In From The Trailhead
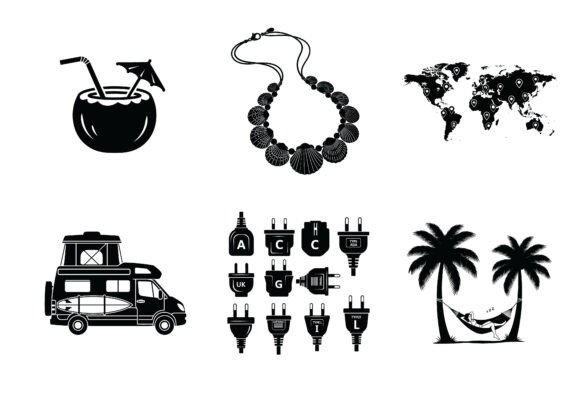
Okay, this one is a tee design, not storage, but it earned a spot because I printed it onto an iron-on transfer and slapped it on a plain shirt I now call my camp-kitchen shirt. The one that gets grease and marshmallow on it so my good clothes do not.
The van life world art is bold enough to read across a campsite, which mattered exactly once, when my partner spotted me in a crowded lot at the trailhead because of the shirt. The design printed sharp on a light tee with a home iron, medium heat, no steam.
The nitpick is the usual iron-on thing, dark shirts need the special dark transfer paper or the colors go murky. I tried it on a navy shirt first. Looked like a ghost. Stick to a light tee unless you buy the right paper.
Frequently Asked Questions
What are the best vans for van life?
Honestly? The best van is the one you can afford to fix and still sleep in. I started in a beat-up 2008 conversion because it was paid for, and it taught me more than a fancy build would have. People love the tall Sprinter and Transit because you can stand up inside, and that stand-up thing matters more than you think when it rains for two days at Sawtooth and you are stuck inside.
If money is tight, a used minivan or a high-roof cargo van you outfit yourself does the job. My one rule from experience, check the rust and the engine before the cute curtains. A neighbor bought a shiny-looking van that needed a new transmission in month one.
Is van life safe?
Short answer, yes, mostly, if you use your head. I have spent a lot of nights alone-ish in the van and the scariest thing that ever happened was a raccoon getting into the snack bin I forgot to latch. Lesson learned, lock the food.
The real safety stuff is boring. A carbon monoxide detector, which I clipped above the bed after reading too many forum horror stories. Park where it feels right, leave if it does not, I have driven off from a lot at 2am just on a bad gut feeling and never regretted it. Tell someone where you are. I text my sister my rough location most nights.
What van to buy for vanlife?
Depends what you are doing with it. Weekend trips and a kid, like us? You do not need a forty-grand build. We run a small older camper and it is plenty for food, sleep, and a tiny galley.
If you are going full-time and working from the road, buy taller and longer than feels reasonable, because you will fill it. A camp mom I met at Redfish Lake regretted buying small the moment she added a desk for remote work. Buy for the trip you will actually take in two years, not the Pinterest photo. And test drive it loaded, an empty van and a packed one handle nothing alike.
How to organize a camper?
I learned this one the hard way after the rolling-can incident on the way to Sawtooth. Start with the food, because it shifts and rolls and goes bad. Bins that actually latch, not open baskets. Then label everything, which is where half the printables in this post come from, because a labeled lid stops the four-container search at 6am.
My actual system, heavy stuff low and centered so it does not fly on switchbacks, snacks where the kid can reach, breakables in the one latched cabinet. Line the drawers so things stop sliding and the whole inside stops looking like a toolbox. Do it once, properly, on a rainy day at home. Doing it in a dark parking lot the night before is how I ended up eating cold beans with a spork.
Before You Pack Up
None of this is a fancy build. It is bins, a few printed labels, a drawer liner, and the hard-won habit of latching the snacks before a mountain road. Most of mine came together over one rainy Saturday and about twelve bucks of files and craft-store resin.
If you grab one thing, make it the labels and the drawer liner, because they fix the daily 6am scramble more than anything chrome you could bolt on. I am writing this from the van right now, fog still sitting low over the lot, coffee going, the cabinet key swinging on its dumb little watercolor keychain by the door.
More Camping Ideas We Love
Heads up: some links in this post are affiliate links. If you grab a file we love, we may earn a small commission at no extra cost to you. We only feature designs we would happily pack on our own trip.